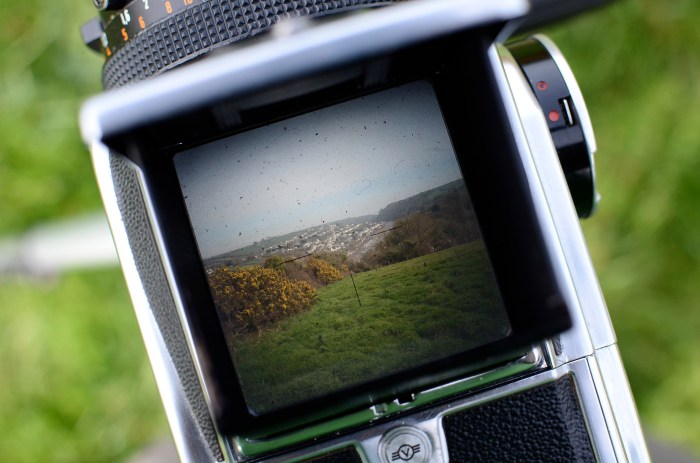
Ground glass screen of Hasselblad looking over South Devon
I can remember the first time I used a Hasselblad. Looking at the screen for the first time, I was able to see real depth to the live, vibrant image. Objects out of focus were beautifully soft, contrasting with the sharp subject. It looks like a moving photograph – but if I’m honest, the actual photographs that are framed and focussed in the screen never quite (for me) do the misty glass screen justice. It is more like the magic of viewing a camera obscura that looking through a viewfinder.
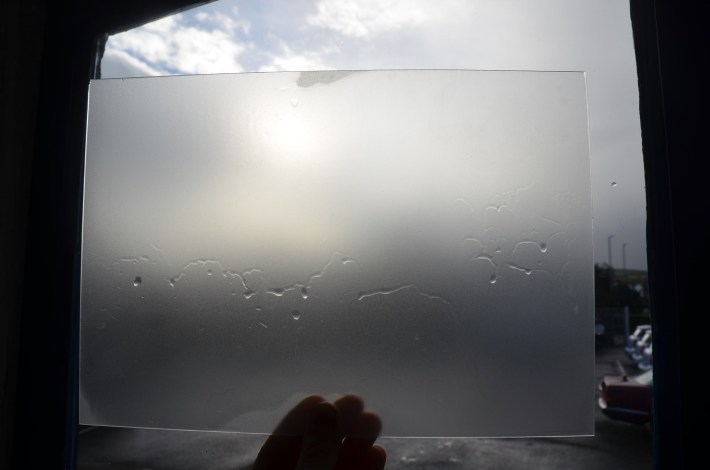
As I set about making a new obscura I looked into making a much larger ground glass screen onto which a piece of paper can be placed in order trace the light directly. Because a ground glass screen isn’t completely transparent, it offers a surface for light from the lens to be focussed onto, whilst allowing enough light to pass through for it to be viewed from behind .
After a little research, I found a few processes available to me. Below is the one I felt to be cheapest, simplest and safest.
Here’s what you’ll need :
- 1 piece of glass of the size it will be needed in your camera
- Ideally, another piece of glass large than the first and heavier will make life easier, but not essential
- 1 tub of aluminium oxide (180 grit) (I got mine here – you only need a small amount, a 200g tub is plenty)
- 1 tub of aluminium oxide (90 grit) (see above!)
- a hard, flat working surface
- A flat tray that fits the glass (like a photography dev tray)
- Gaffa tape. Of course.
- Newspaper
- Gloves
- Facemask
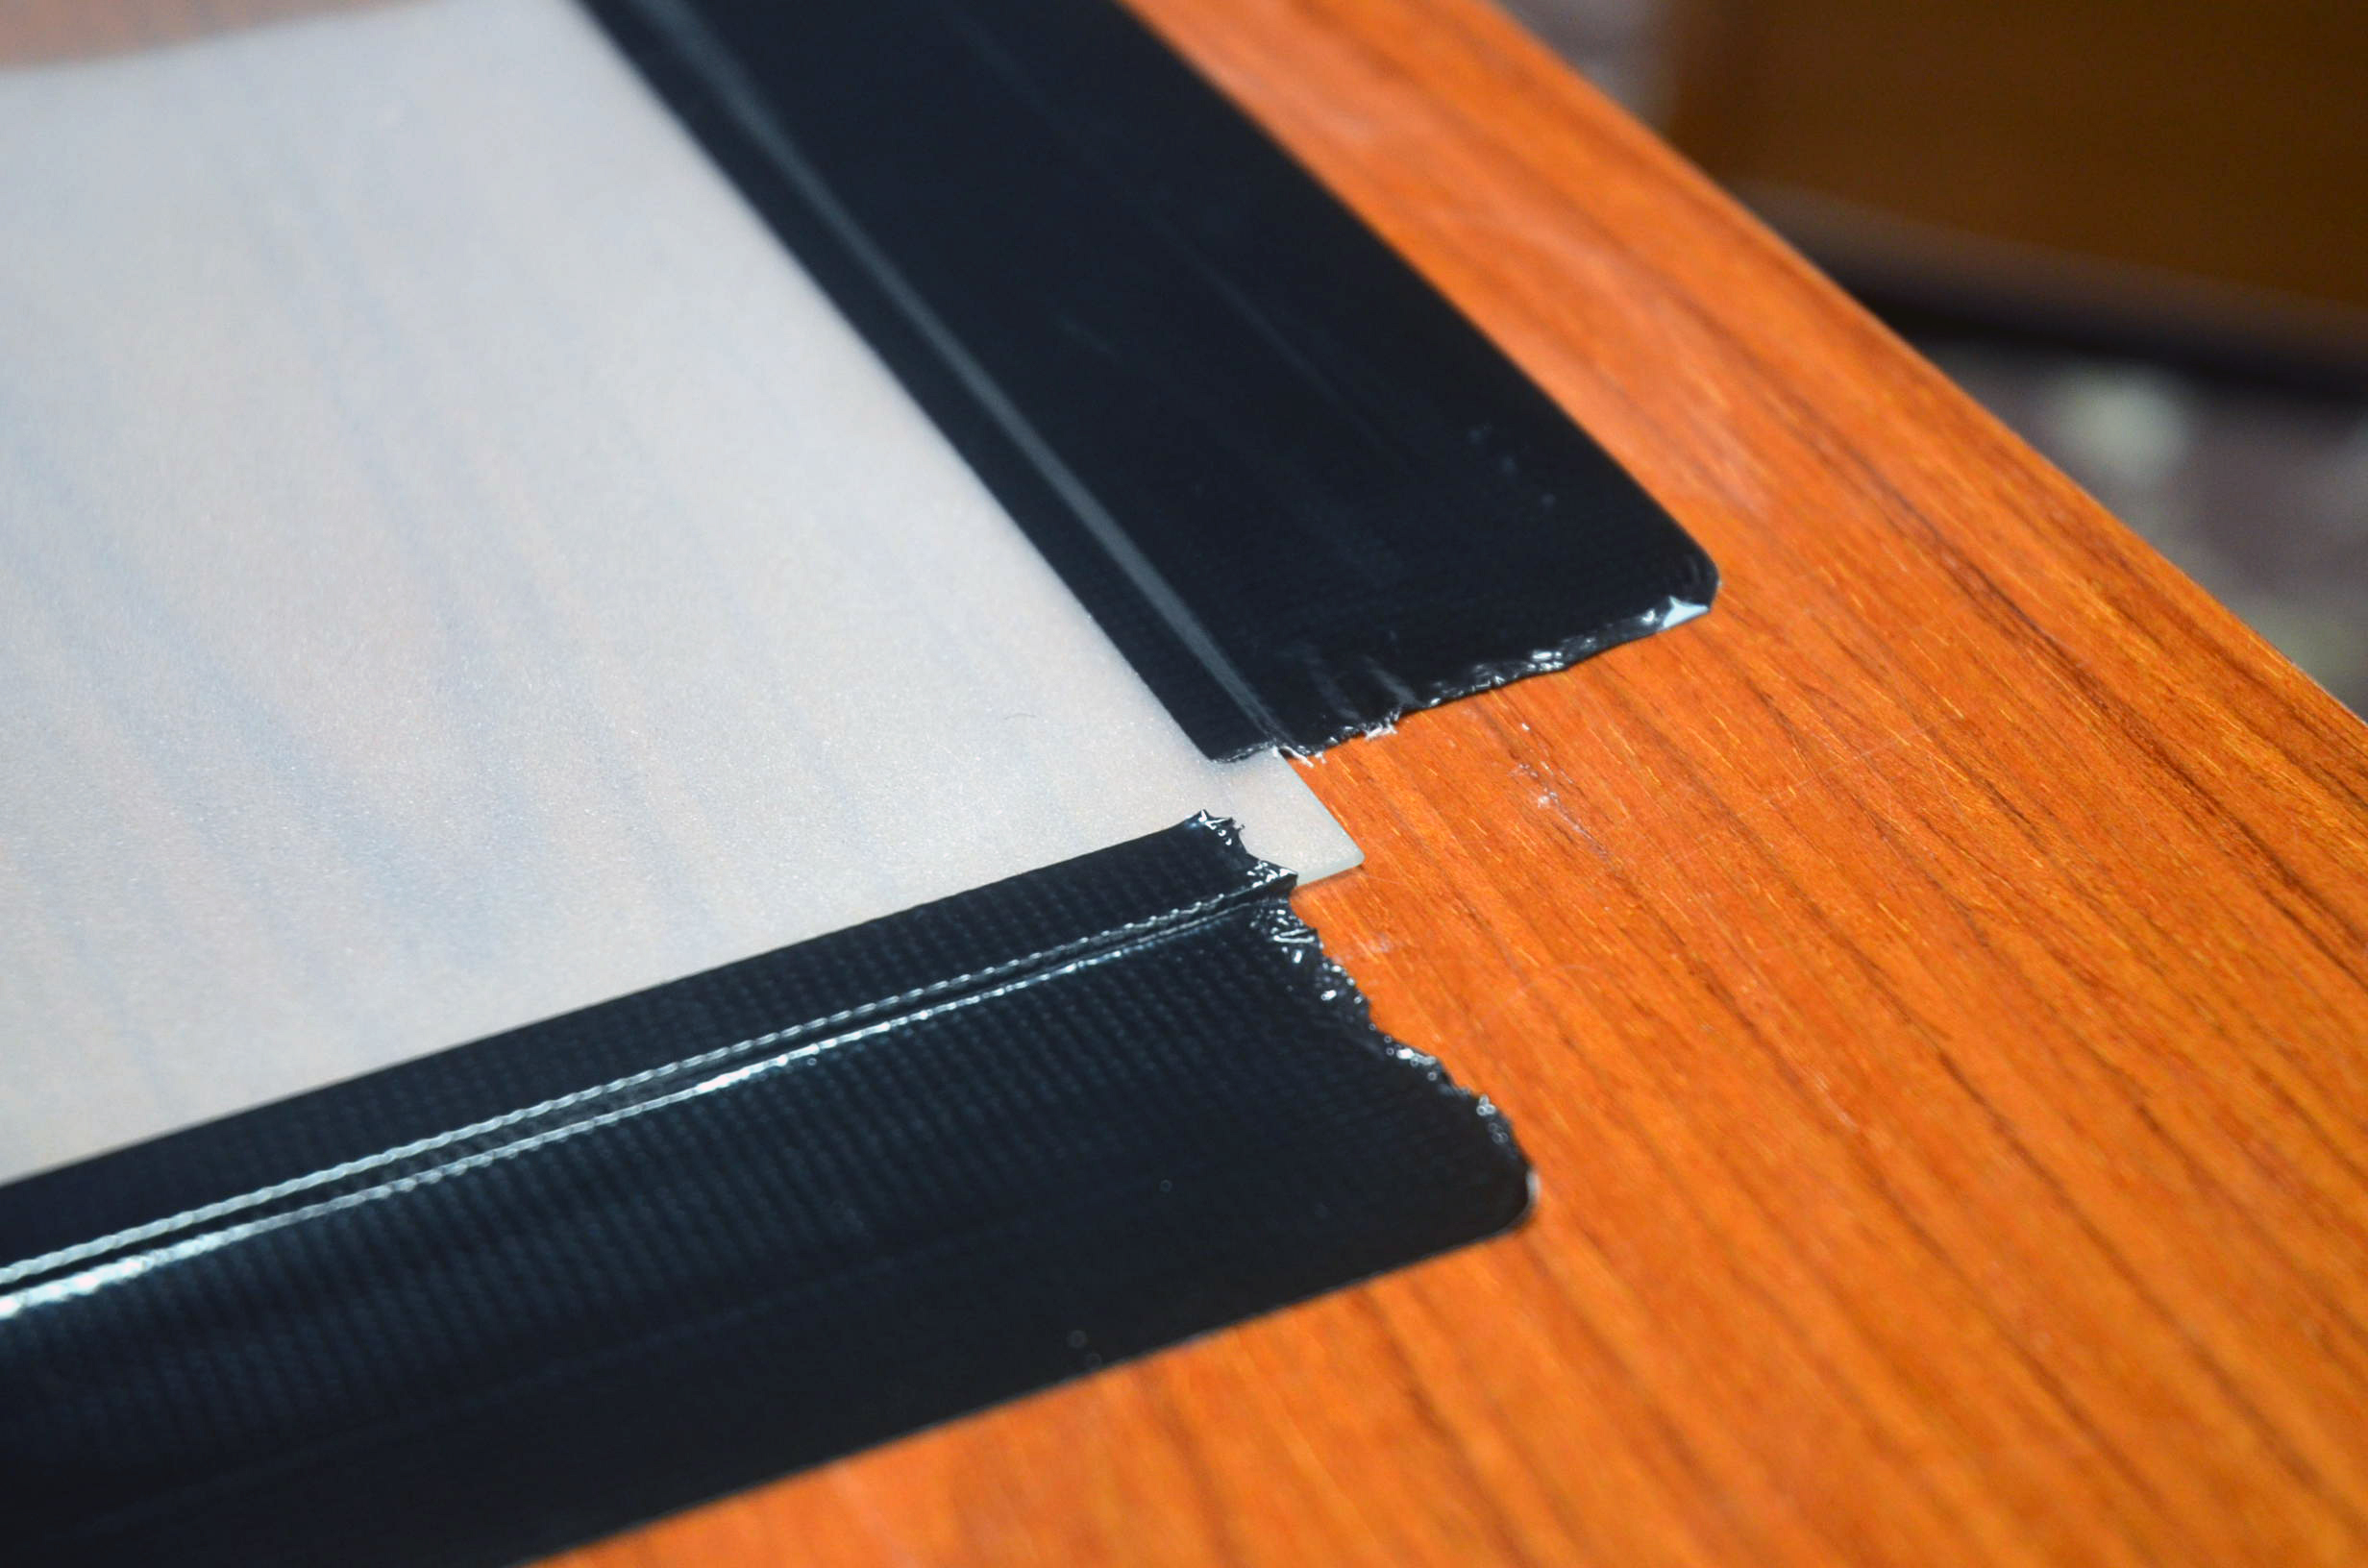
1. The first step is to secure the piece of glass that is to become the ground glass screen. I was unable to find a piece of glass that was larger and heavier, so instead I was using one of the same size. To keep things cheap, I was using the glass from 2 A4 clip frames that I had picked up from a charity shop. Begin by taping the glass onto the hard, flat surface.
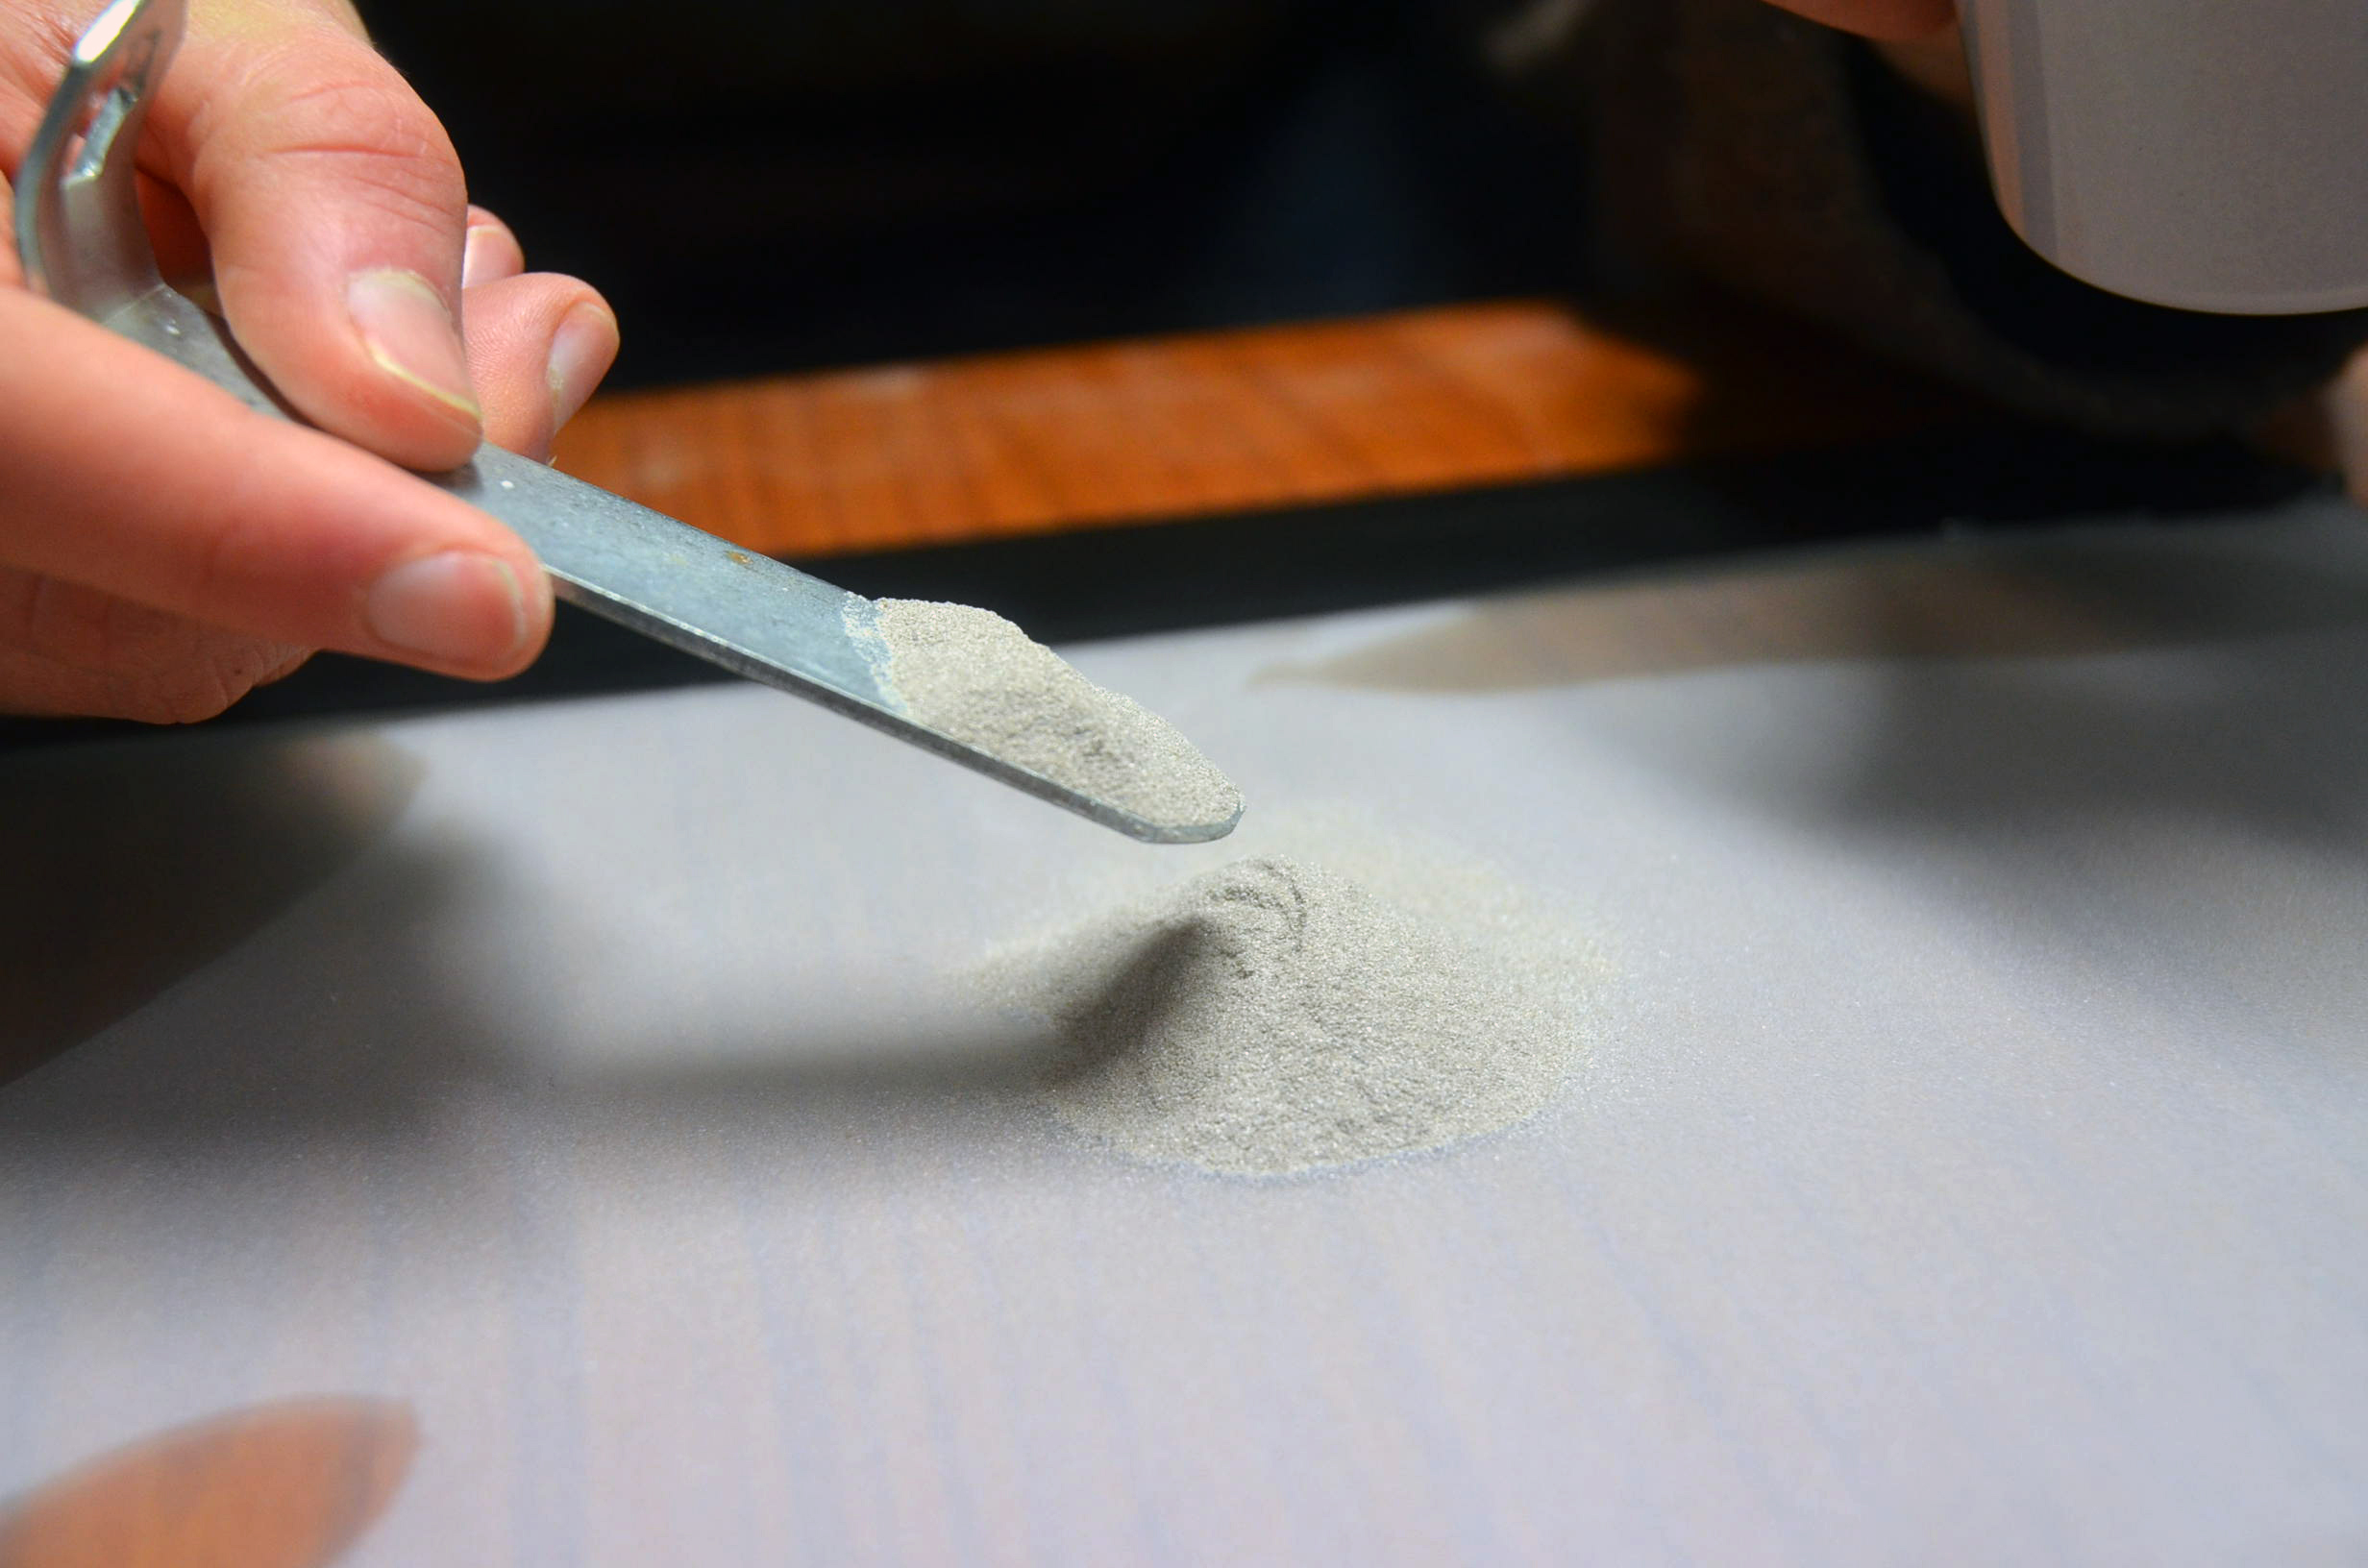
2. Put your gloves and mask on. Although aluminium oxide is fairly safe, it can irritate skin, eyes and your throat and lungs if exposed so best to be safe. You can learn more about the Aluminium Oxide here. Put a small amount of the rougher grit (remember- smaller the number the larger the grit size, like sandpaper gradings), and add drops of water until it has the consistency of a paste.
3. Place the second piece of glass on top, and begin to press down on it and move the glass in circles all over the surface of the glass. This takes time, and effort! At first, it seems nothing is happening, but keep at it! If you are using thin glass, be careful not to press down so hard it causes the glass to break – it doesn’t need much force to make it work. Be sure to try to cover the glass evenly – and dont forget the corners.

4. Keep at it. By now, the gaffa tape may be beginning to fail, but keep going, try to get an even working over the whole pane of glass. I worked my A4 piece of glass for around 40 minutes, with rests..
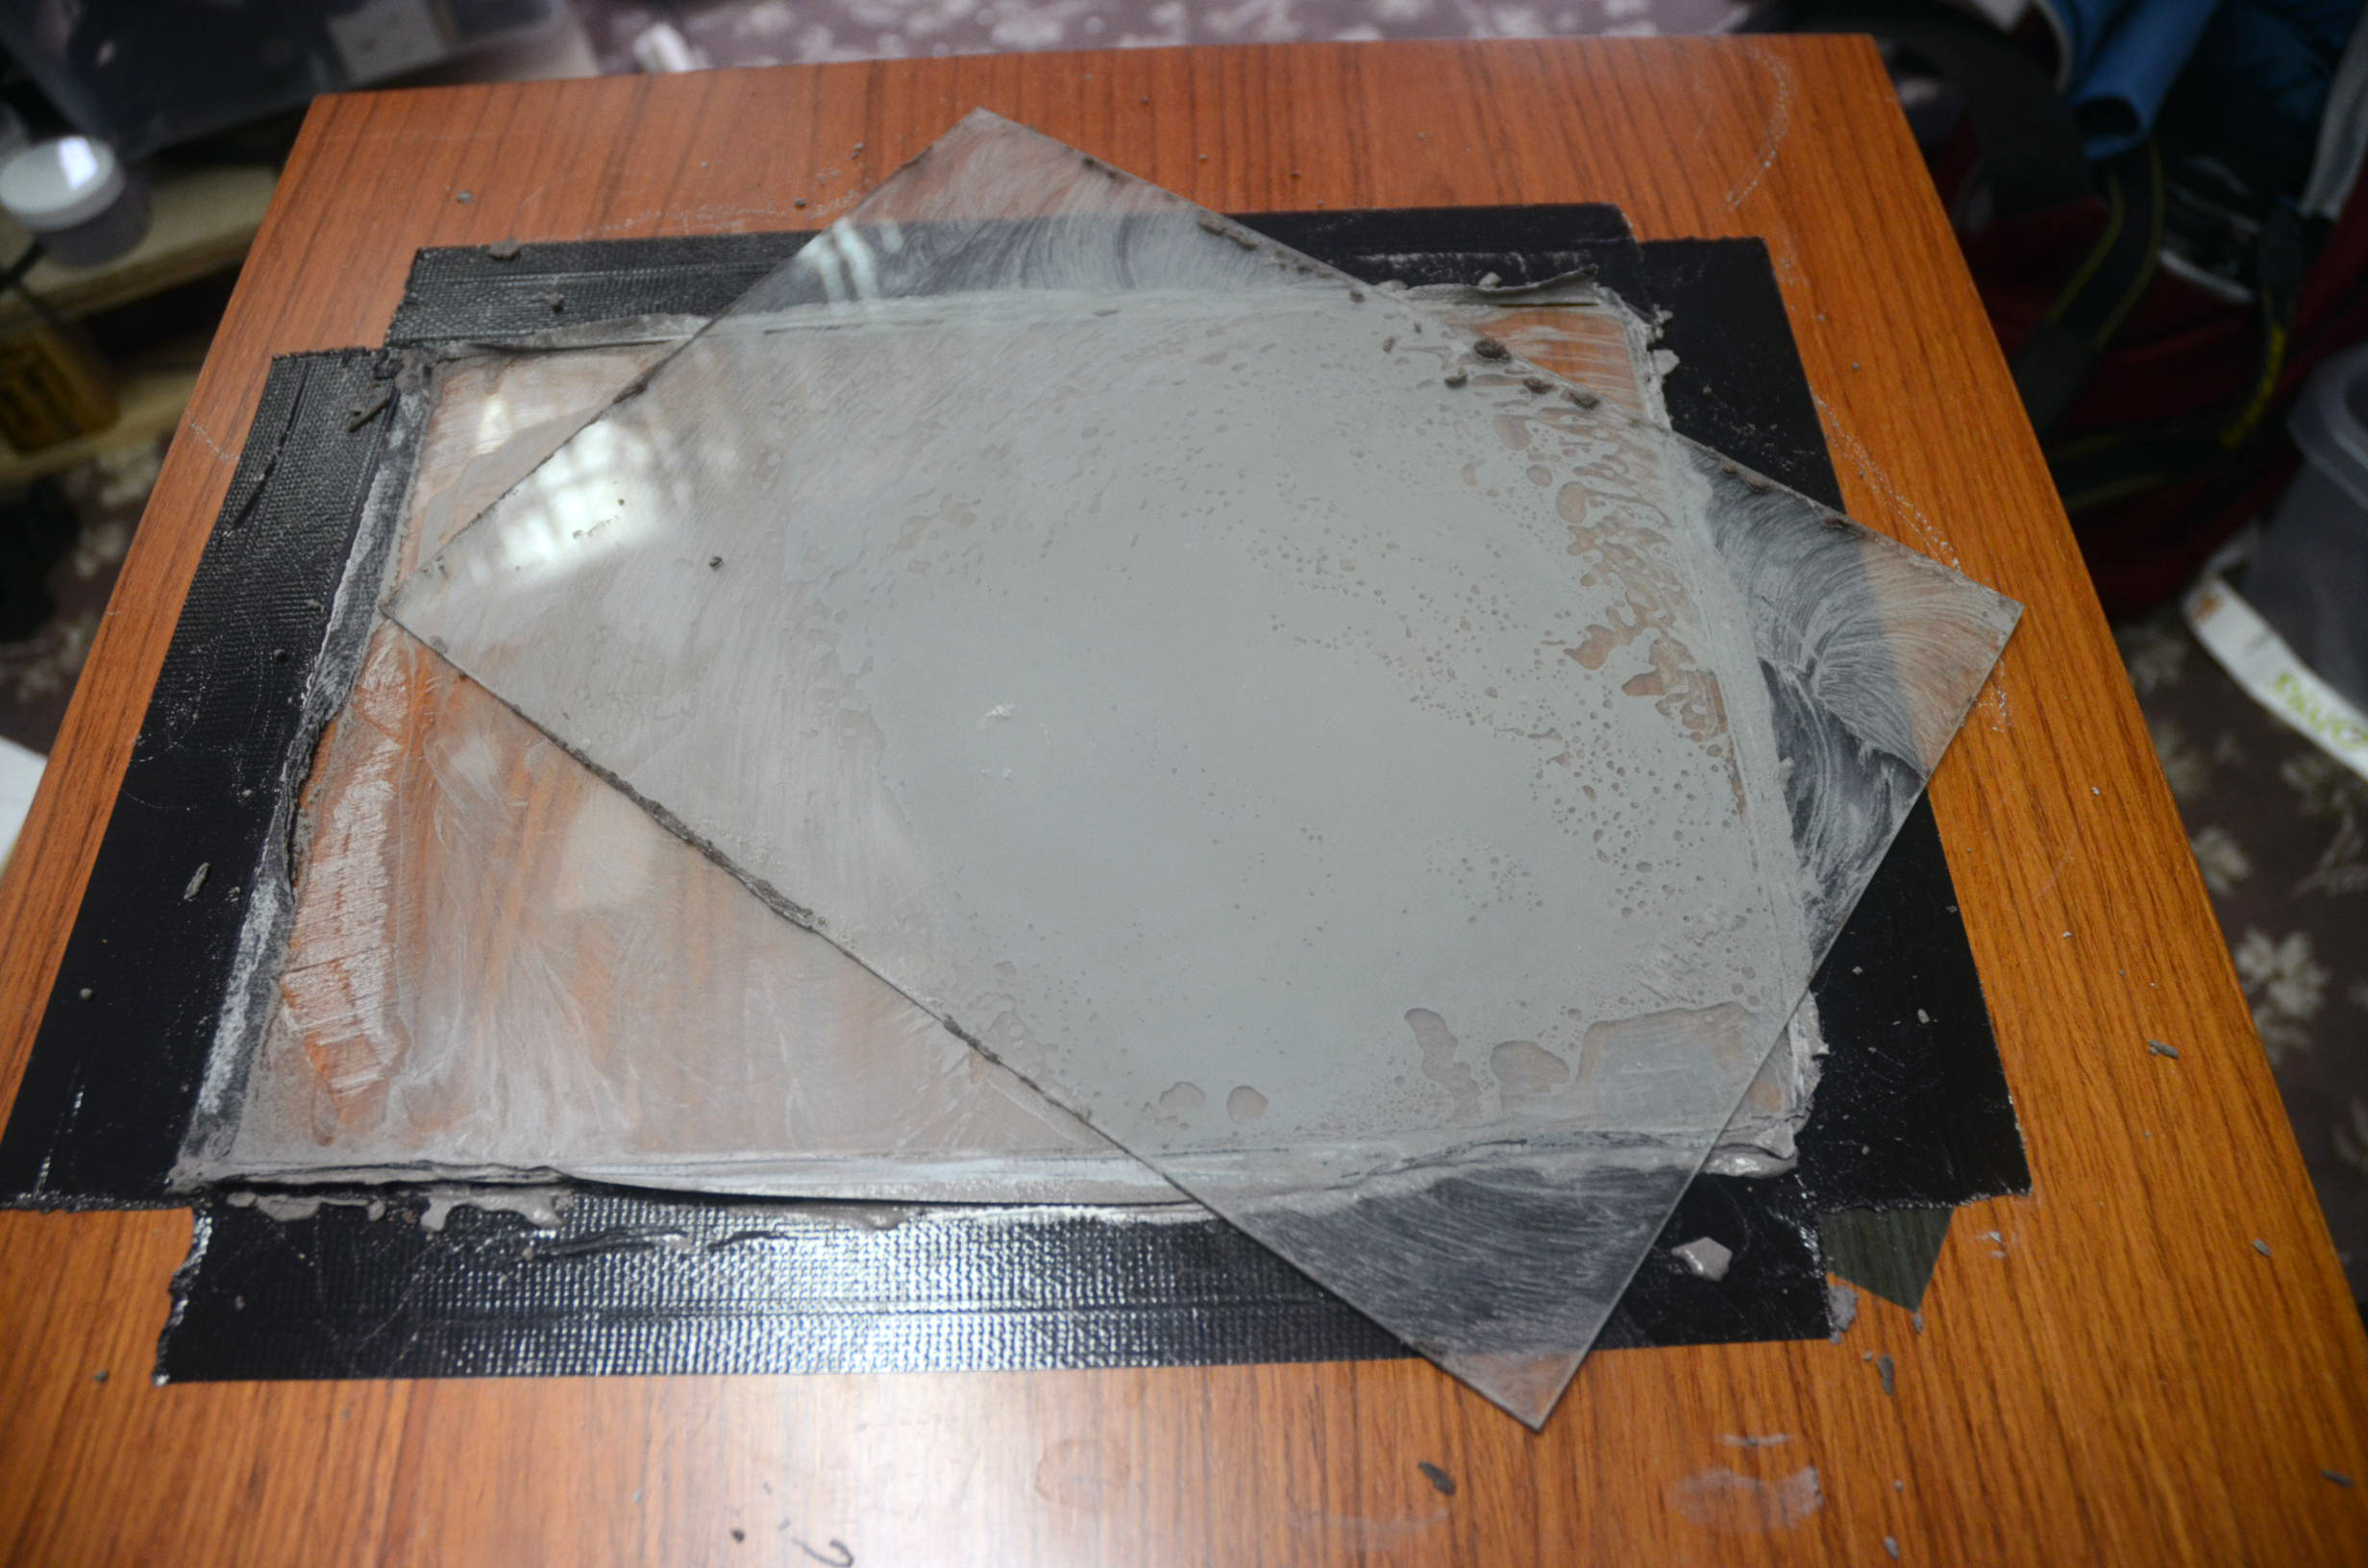
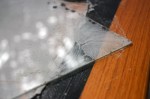
5. Time to review. By now, the gaffa tape has probably given up entirely, so put the glass into the tray full of water and shake it until all the paste has been removed. Hold it up and check to see how well it has been covered – if you can still see objects in fairly sharp focus in patches, you might need to do this a bit more. You can see below a pretty fair spread of frosting, which was easier to see once the screen had been dried.

6. If you’re happy, clean and dry the surface you were working on, and again secure the glass with gaffa.
7. Make another paste on the glass, this time using the finer (180 grit) powder.
8. See step 3… and then Step 4! I spent about 15 minutes working with the finer grit, but working longer will give you a smoother finish.
9. Once again place it in the tray and shake off all the paste.
10. Let the screen dry standing up, and inspect your work. Again, if necessary you may need to work at it again. If not, all done!
IMPORTANT! Do not to allow these very fine pieces of metal into the environment by putting them down the sink. Leave the tray overnight, and the grit will settle, allowing you you power much of the water off. With the remaining sludge, I put this into newspaper to make disposal simpler and less hazardous. Although this will then go into landfill, I haven’t managed to find a more satisfactory way to dispose of this small an amount of material. (If you know of any – get in touch!).
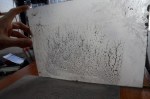
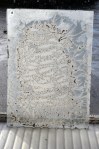
Below are a few other pictures taken during the process. I will add some more once it is fitted to an obscura. If you want to see the obscura and some other contraptions, or take part in a workshop or portrait session, come to my residency!