I first came across the Afghan Camera through the brilliant Afghan Box Camera project. The website is well worth a good explore (I’m still finding new stuff) and I can also highly recommend buying the book. The project was started by Lukas Birk and Sean Foley. It sought to document the history of the Afghan Camera before it disappears forever.
The Afghan Camera is essentially a camera and darkroom all in one. Typically made from wood, light enters the lens at the front and falls onto a screen inside. The screen moves along rails inside to focus the image – when the photographer has sharp focus, the next step is to cover the lens. By putting their arms inside the camera, the screen is then loaded with light sensitive paper. Uncovering the lens for a few seconds allows light to reach the photo-paper and an exposure is made. This piece of paper is then put through the Developer tray, and then the Fix (no wash here!).
This gives the photographer a paper negative, which (this is the clever bit) can then be rephotographed in order to invert the tones. This is often done by a separate carrier that folds out of the front and holds the paper negative in front of the lens. The process happens again, but this time the result is a positive print.
I really enjoy using paper negatives. What most excites me is the simplicity and the fact that you can make vey large negatives at relatively low cost. There are drawbacks – the papers low sensitivity (around ISO 3) means that fast moving subjects are ruled out and it can be quite unforgiving. For me, these factors only add to the challenge and slow my picture taking process right down. I had a few ideas of possible improvements, or adaptions that could be interesting and so I started to go about making my own Afghan camera.
I make no claims to be a craftsmen. There are some beautiful, ornate designs on the Afghan Box Camera website.. meticulously designed and crafted, they are works of art in themselves. I knew from the start though this wasn’t for me – because (apart from the fact I lack the woodwork skills!) I enjoy reusing and adapting existing structures and components in my cameras and so set about building something unlike most I’d seen. Hopefully this approach would mean more people could see how simple and affordable it can be.
Afghan Box Camera – Mark I
Although my first attempt at building an Afghan Camera may not have been finished, the mistakes I made taught me things that helped make the second attempt more of a success. I started with a box that I picked up at a charity shop and made a rough plan.
I decided to build it around 5×7 prints, and thought I’d try adapting the traditional design by having two sides, one for shooting and one for processing. This meant a large box, but I thought would enable me in future to try some larger paper sizes and enable me to shoot without fogging any prints already in the trays.
First off I cut the arm holes and an aperture for the lens. For this I used an angle grinder, and soon found that my cutting skills got straighter as my fear of losing a limb went down.

Most Afghan cameras I’ve seen online are made from wood – and I could see why. Metal is a lot harder to work, but I hoped it would work well once done and be good and robust. I covered the edges of the metal with frames to make it a bit safer and neaten it up a little..
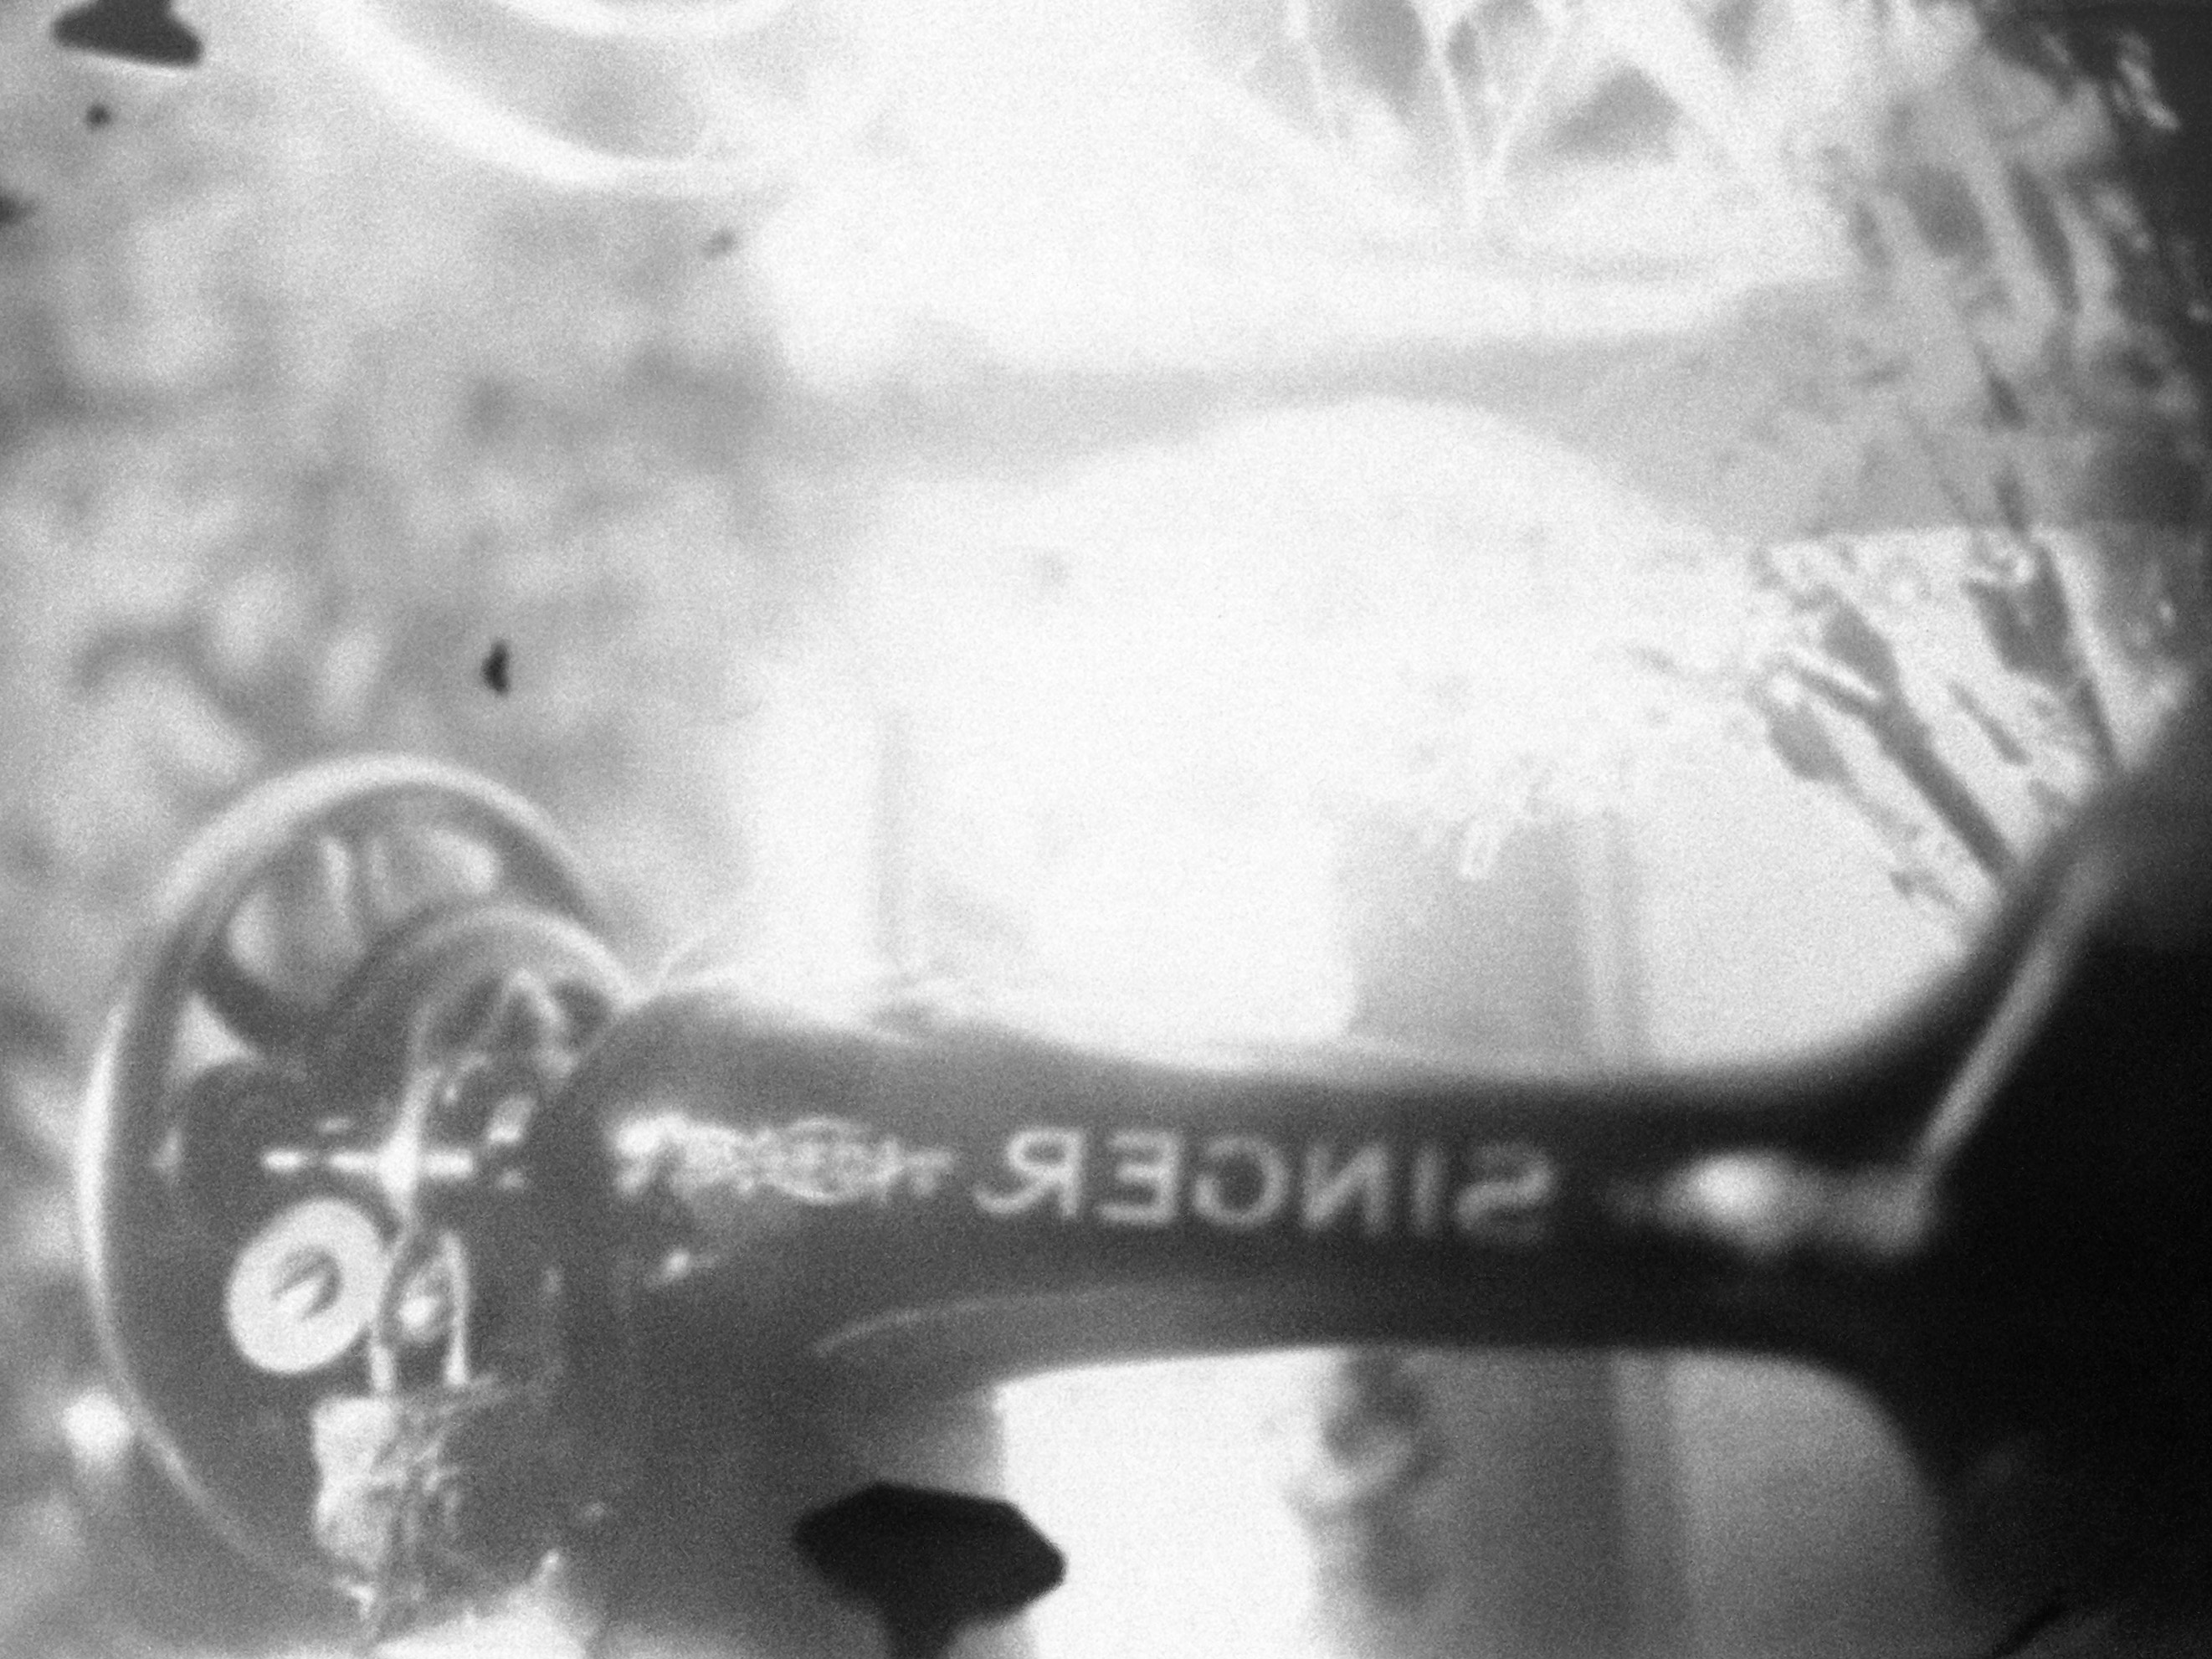
I bought a lens from eBay (of course) – a large format lens that had a faulty shutter. Knowing I wouldn’t need the accurate timings that a shutter brings, I thought I could get a large, sharp image and great optics without paying huge amounts. It worked well, I paid just £20 for the lens. Below you can see me testing another lens – seeing how big the image circle (and therefore usable print size) would be. Thanks to Kat for modelling!
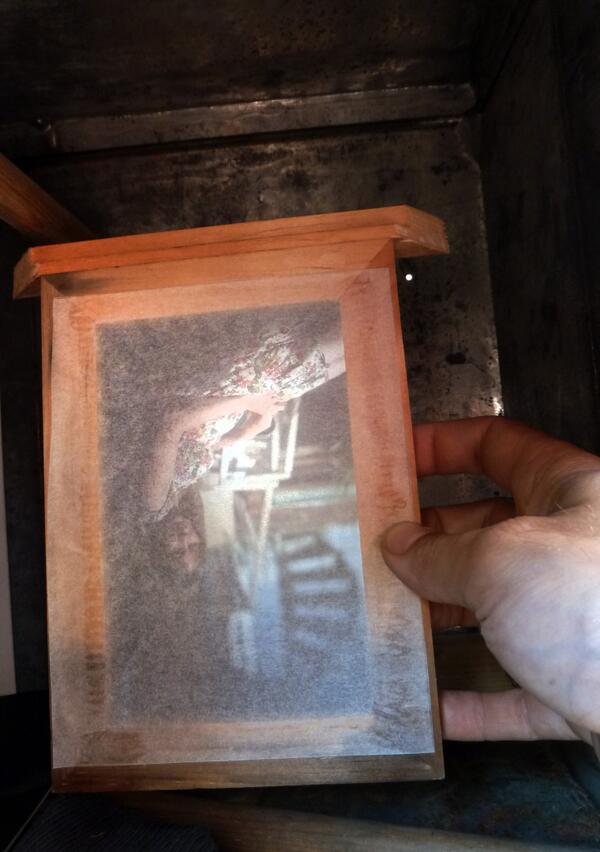
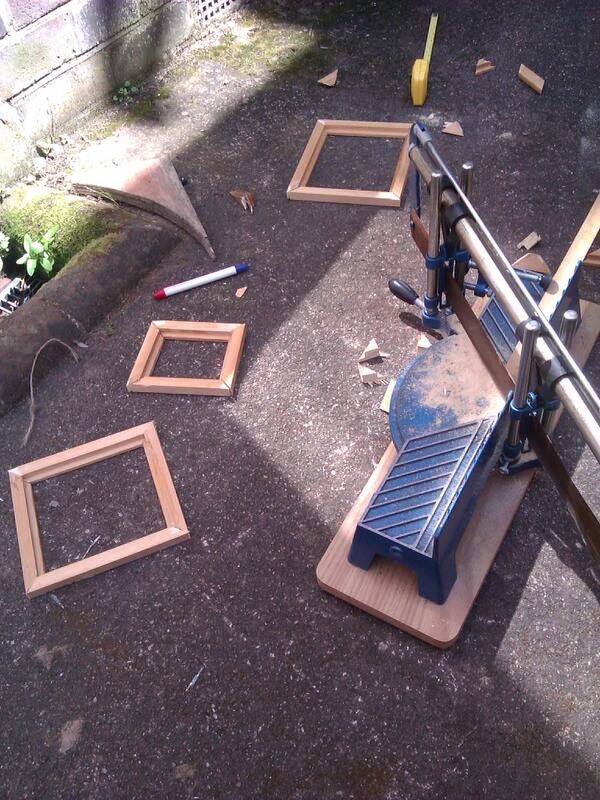
The inside was raw metal, and to minimise reflections I needed to find something dull and black to cover it. This would absorb any stray light bouncing around in the camera leading to clearer pictures. After attaching the box to a tripod I started working out a few other tasks. I needed to create a screen so that I could focus the light from the lens and some way of attaching the light sensitive paper to it ideally without obscuring any of it. I modified some picture frames (cunningly ready made at 5×7) for all these tasks – it worked well.
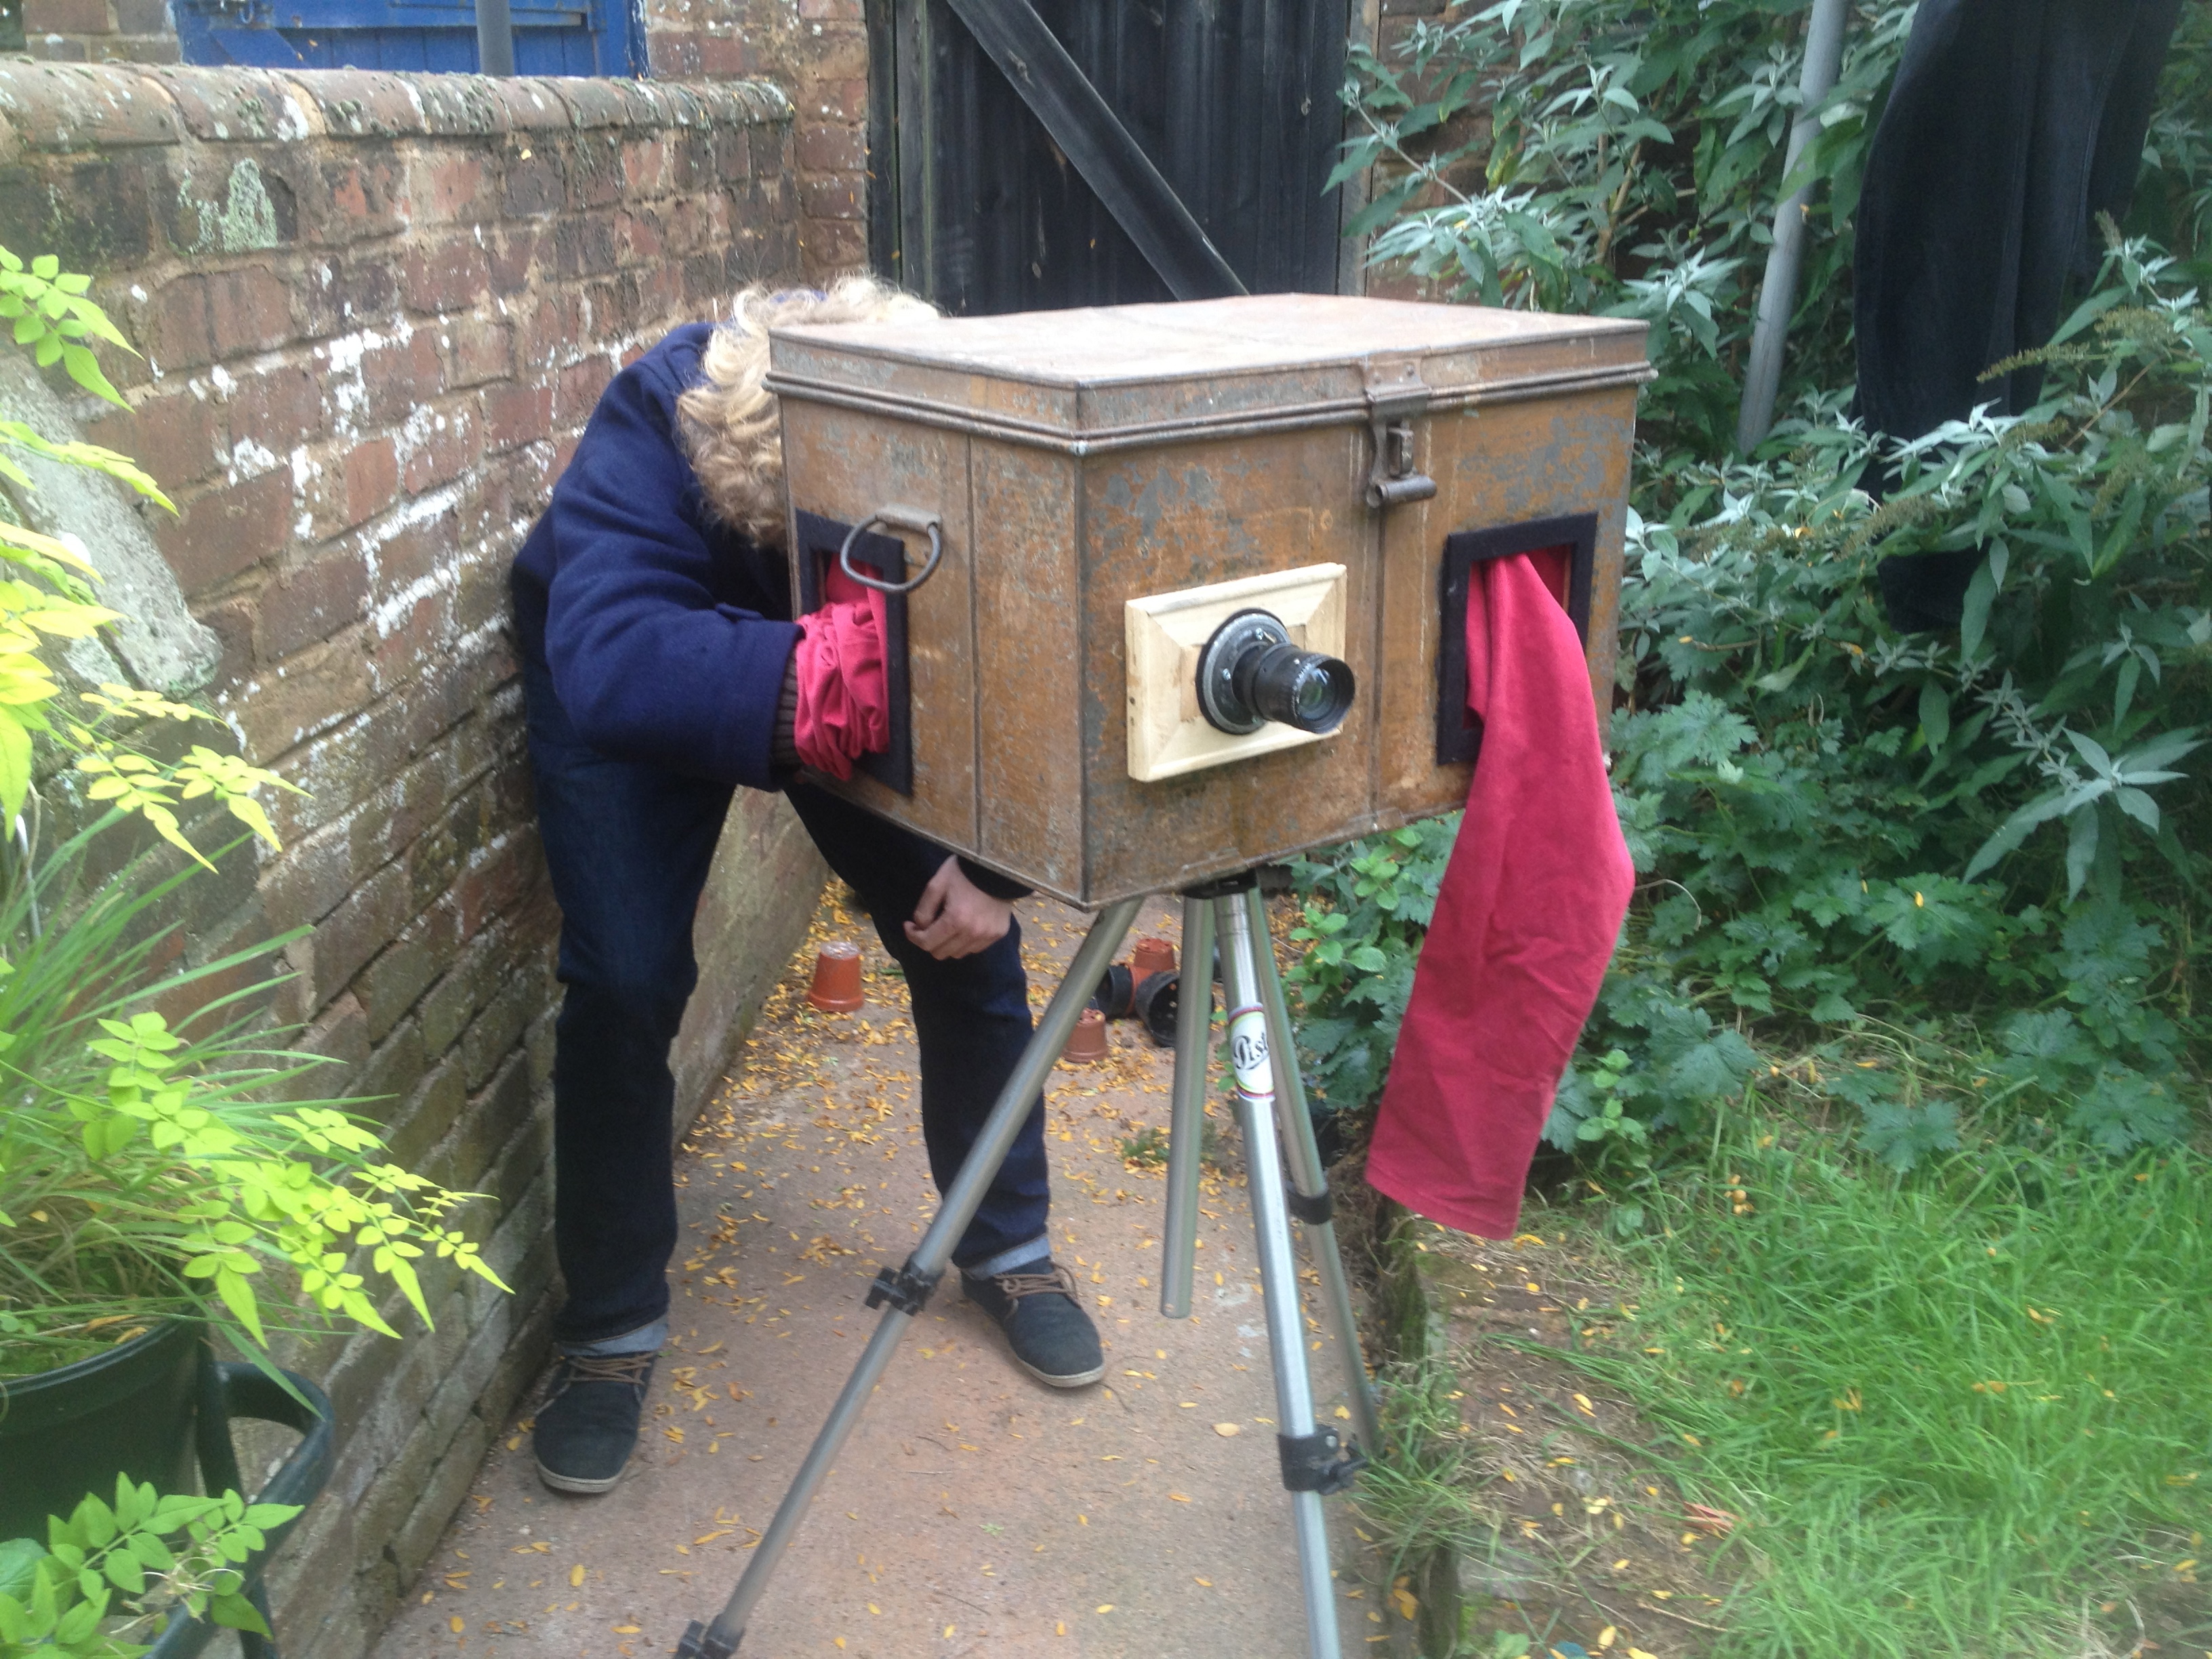
After a brief run through with my housemate (cheers Matt!) I began to see already there were a few problems with the design, mainly because it was a bit too big. Most Afghan cameras aren’t exactly compact, but in trying to have two compartments the camera was really bulky. I couldn’t reach to all the parts of the camera easily, and it was very unsteady on a tripod. Another mistake was the red jeans I’d picked up (charity shop again!) that I thought would make good tubes for the arms – blocking out light. Sadly, I didn’t realise they were ‘skinny jeans’ – meaning I they were too thin to get my arm up without the help of the other one.. which was useless as this design needed both arms inside the camera to work with this design. Luckily, a visit to the tip (the very best place for good finds) I found another box, slightly smaller, and set to work on a new improved design.
A quick test run
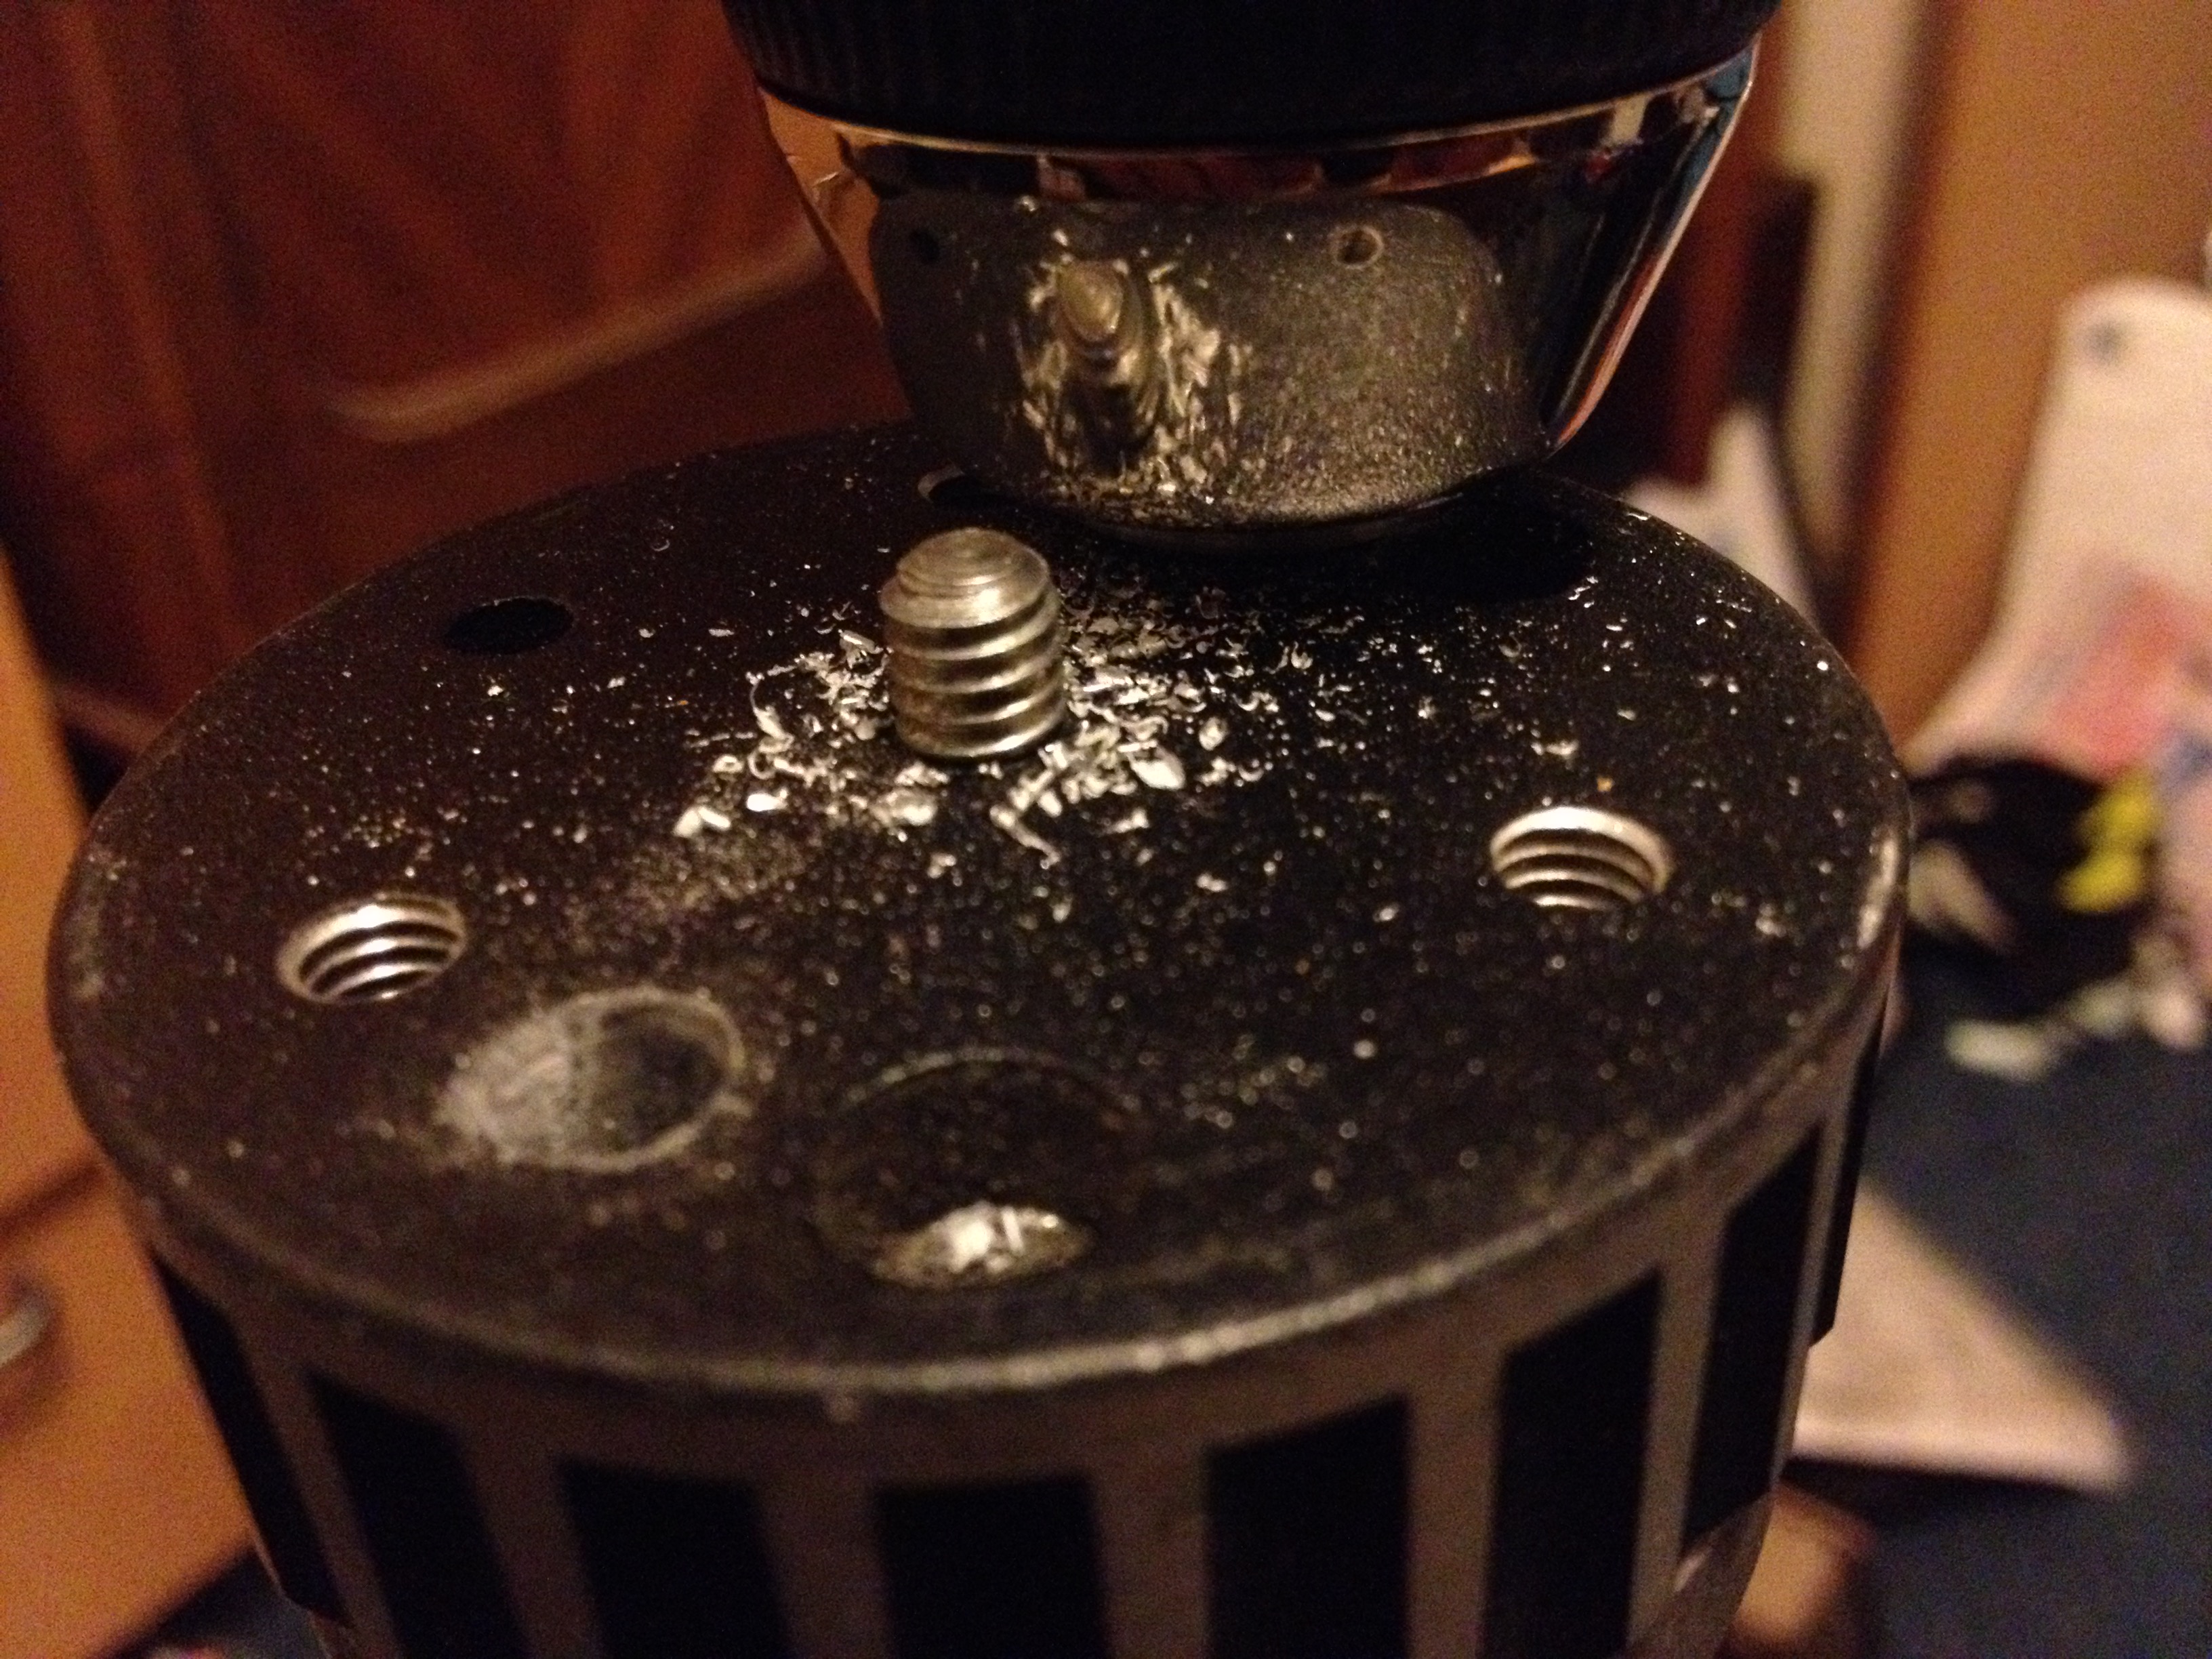
Mounting the tripod base

Nearly there!
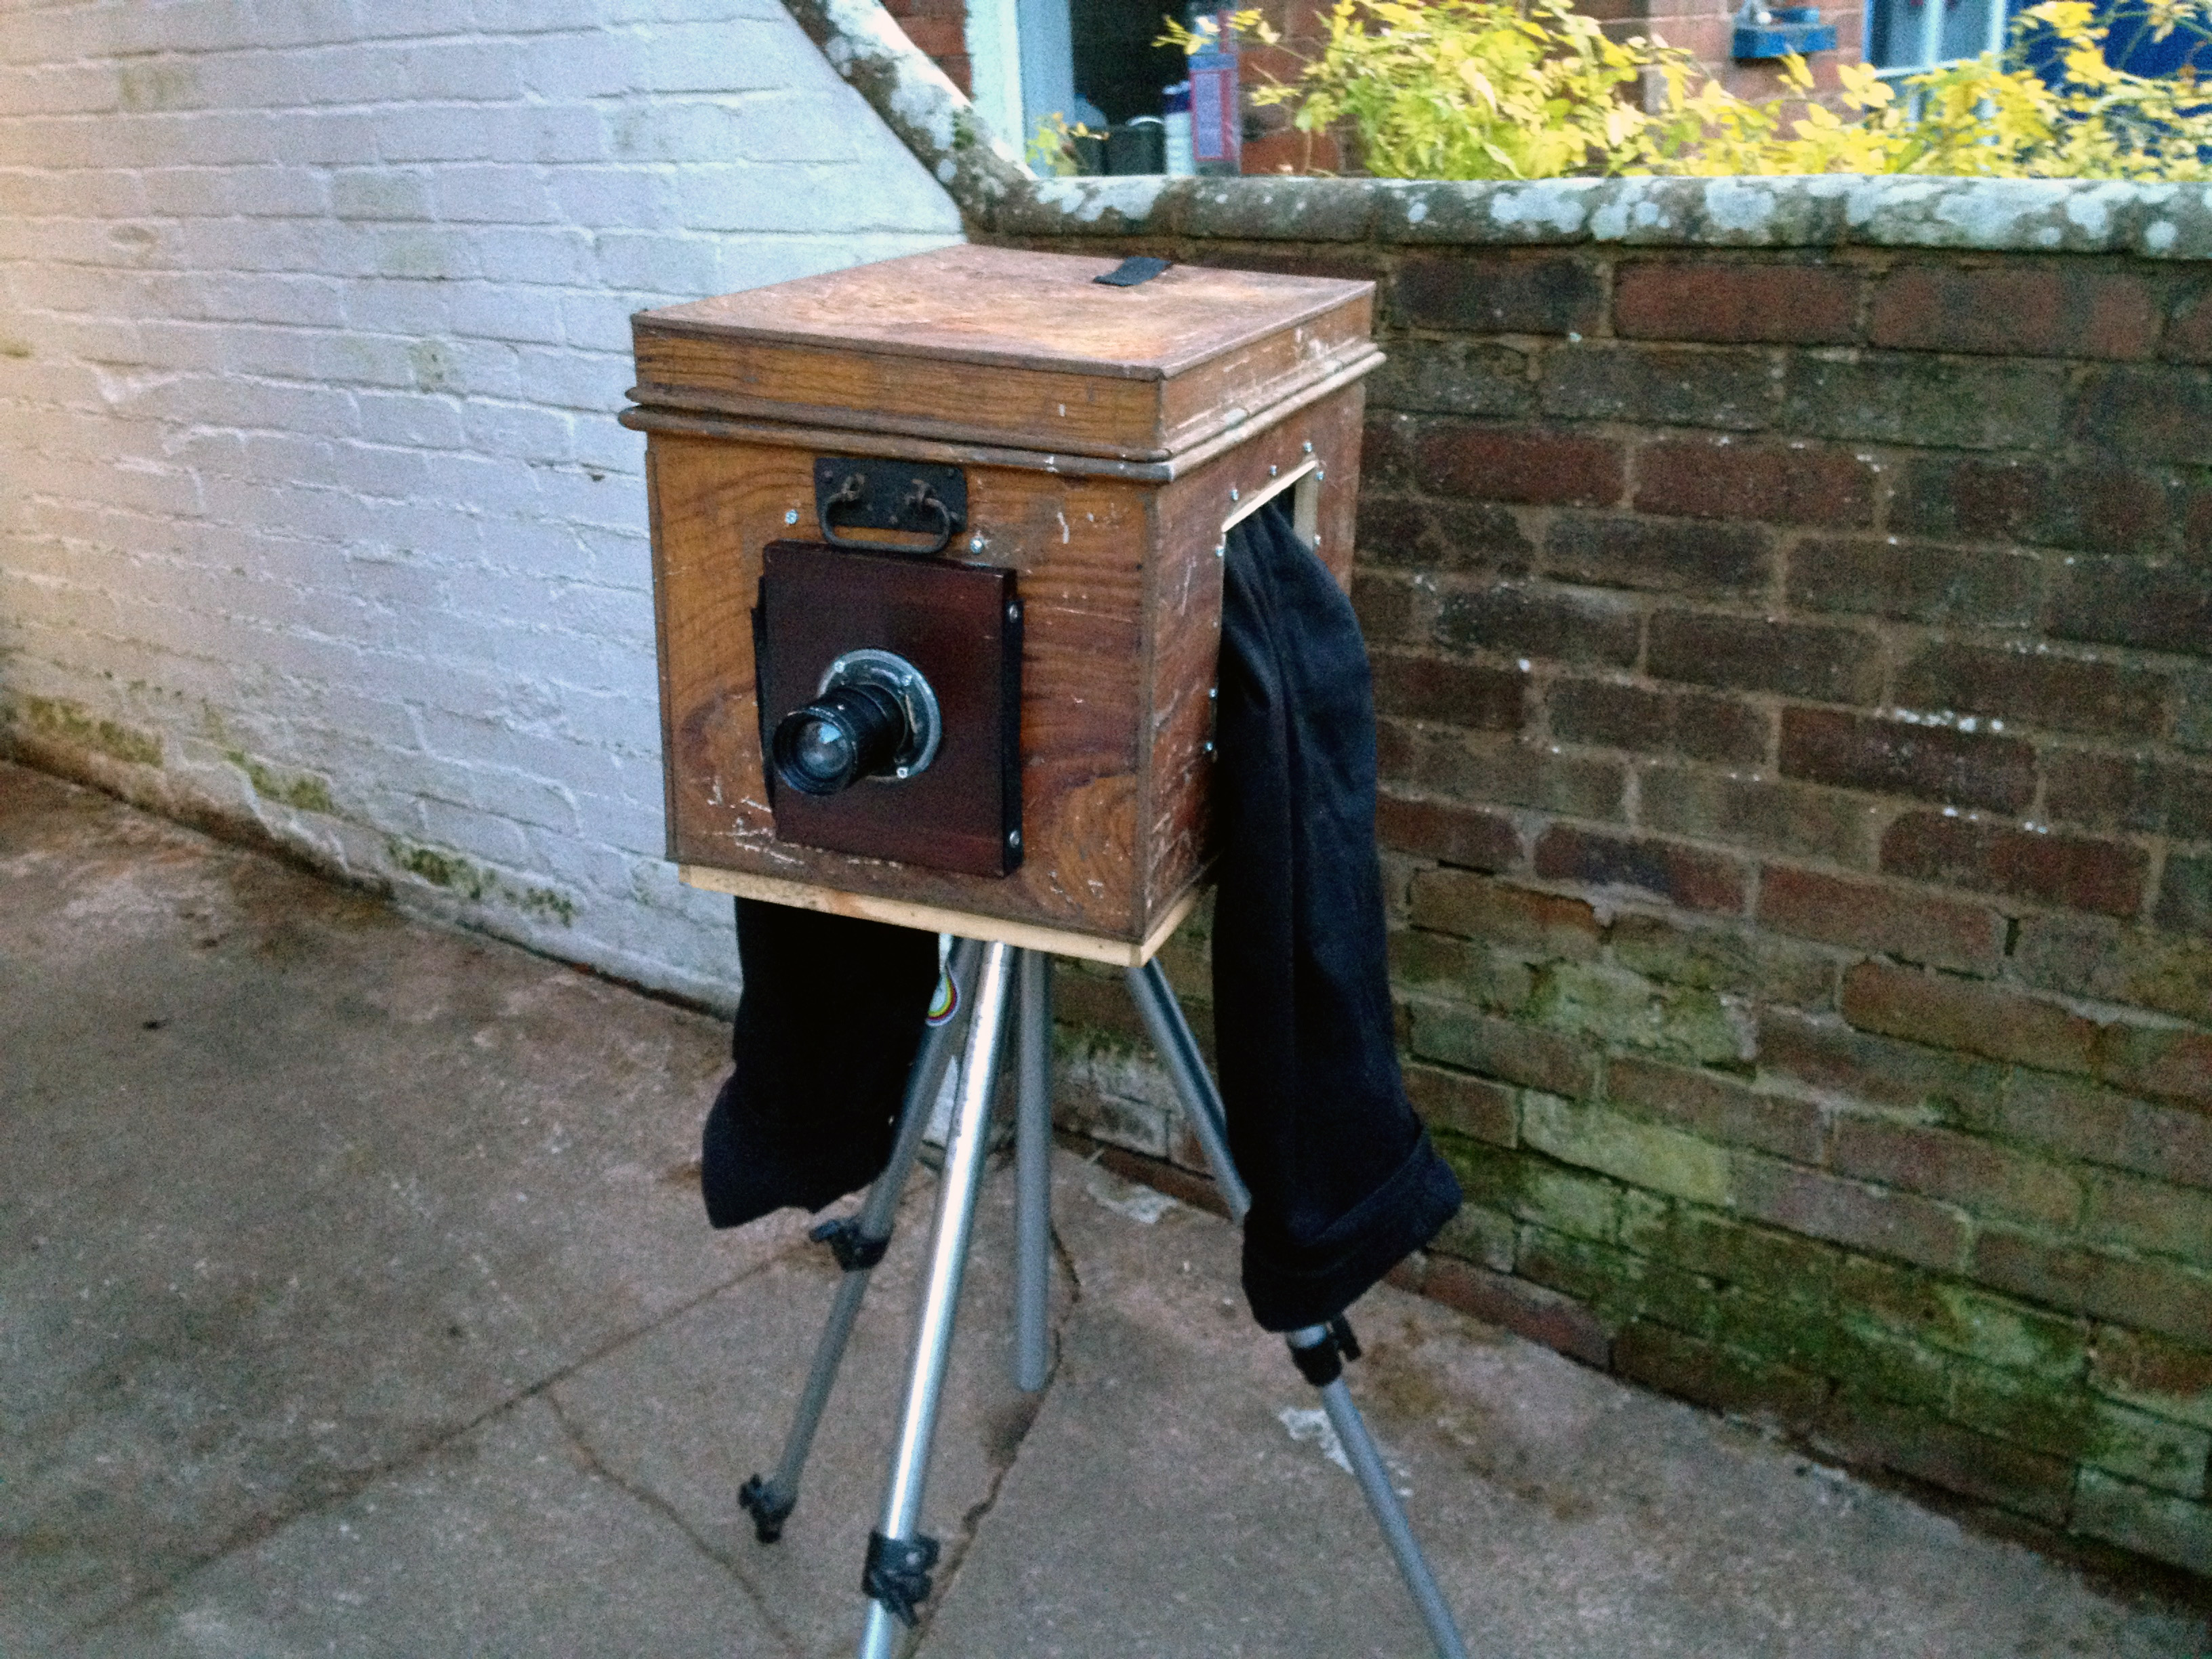
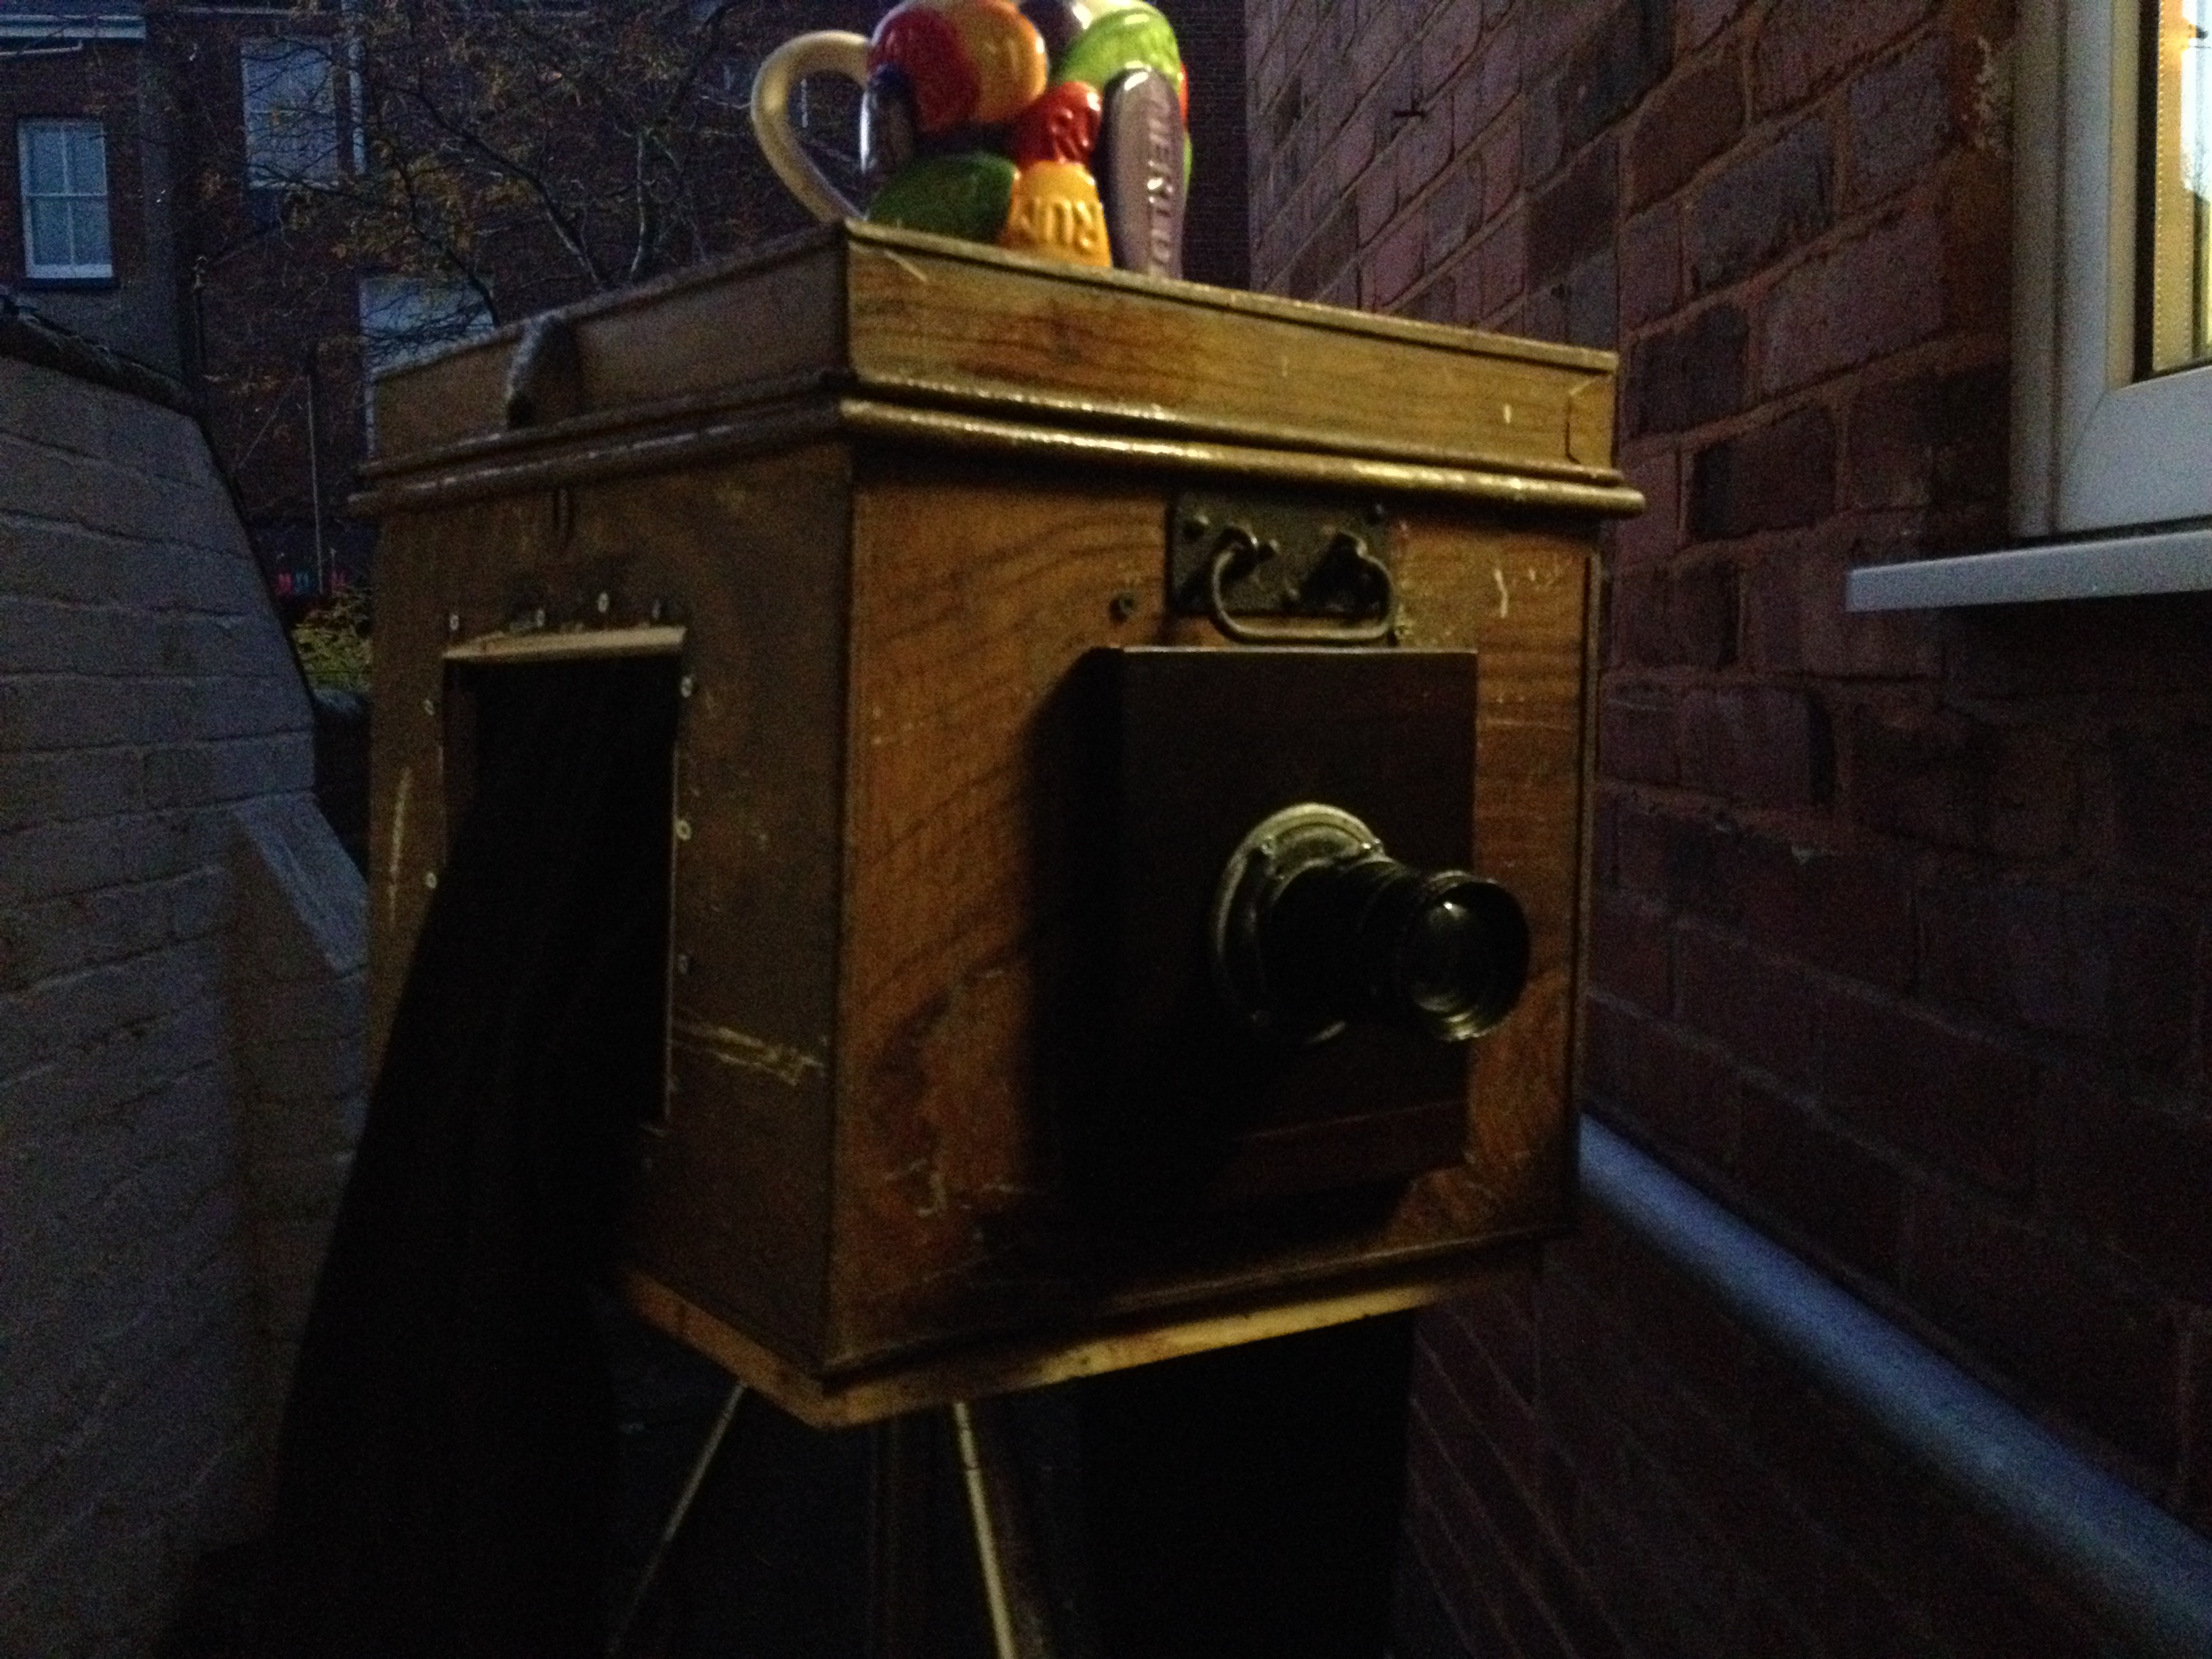
Mark 2!
I decided to follow a more traditional design with just one compartment, and scaled the design down to work best with 6×4. I wanted to try using an enlarger lens for this design too – and intend soon to devise a way to easily switch between different lenses.
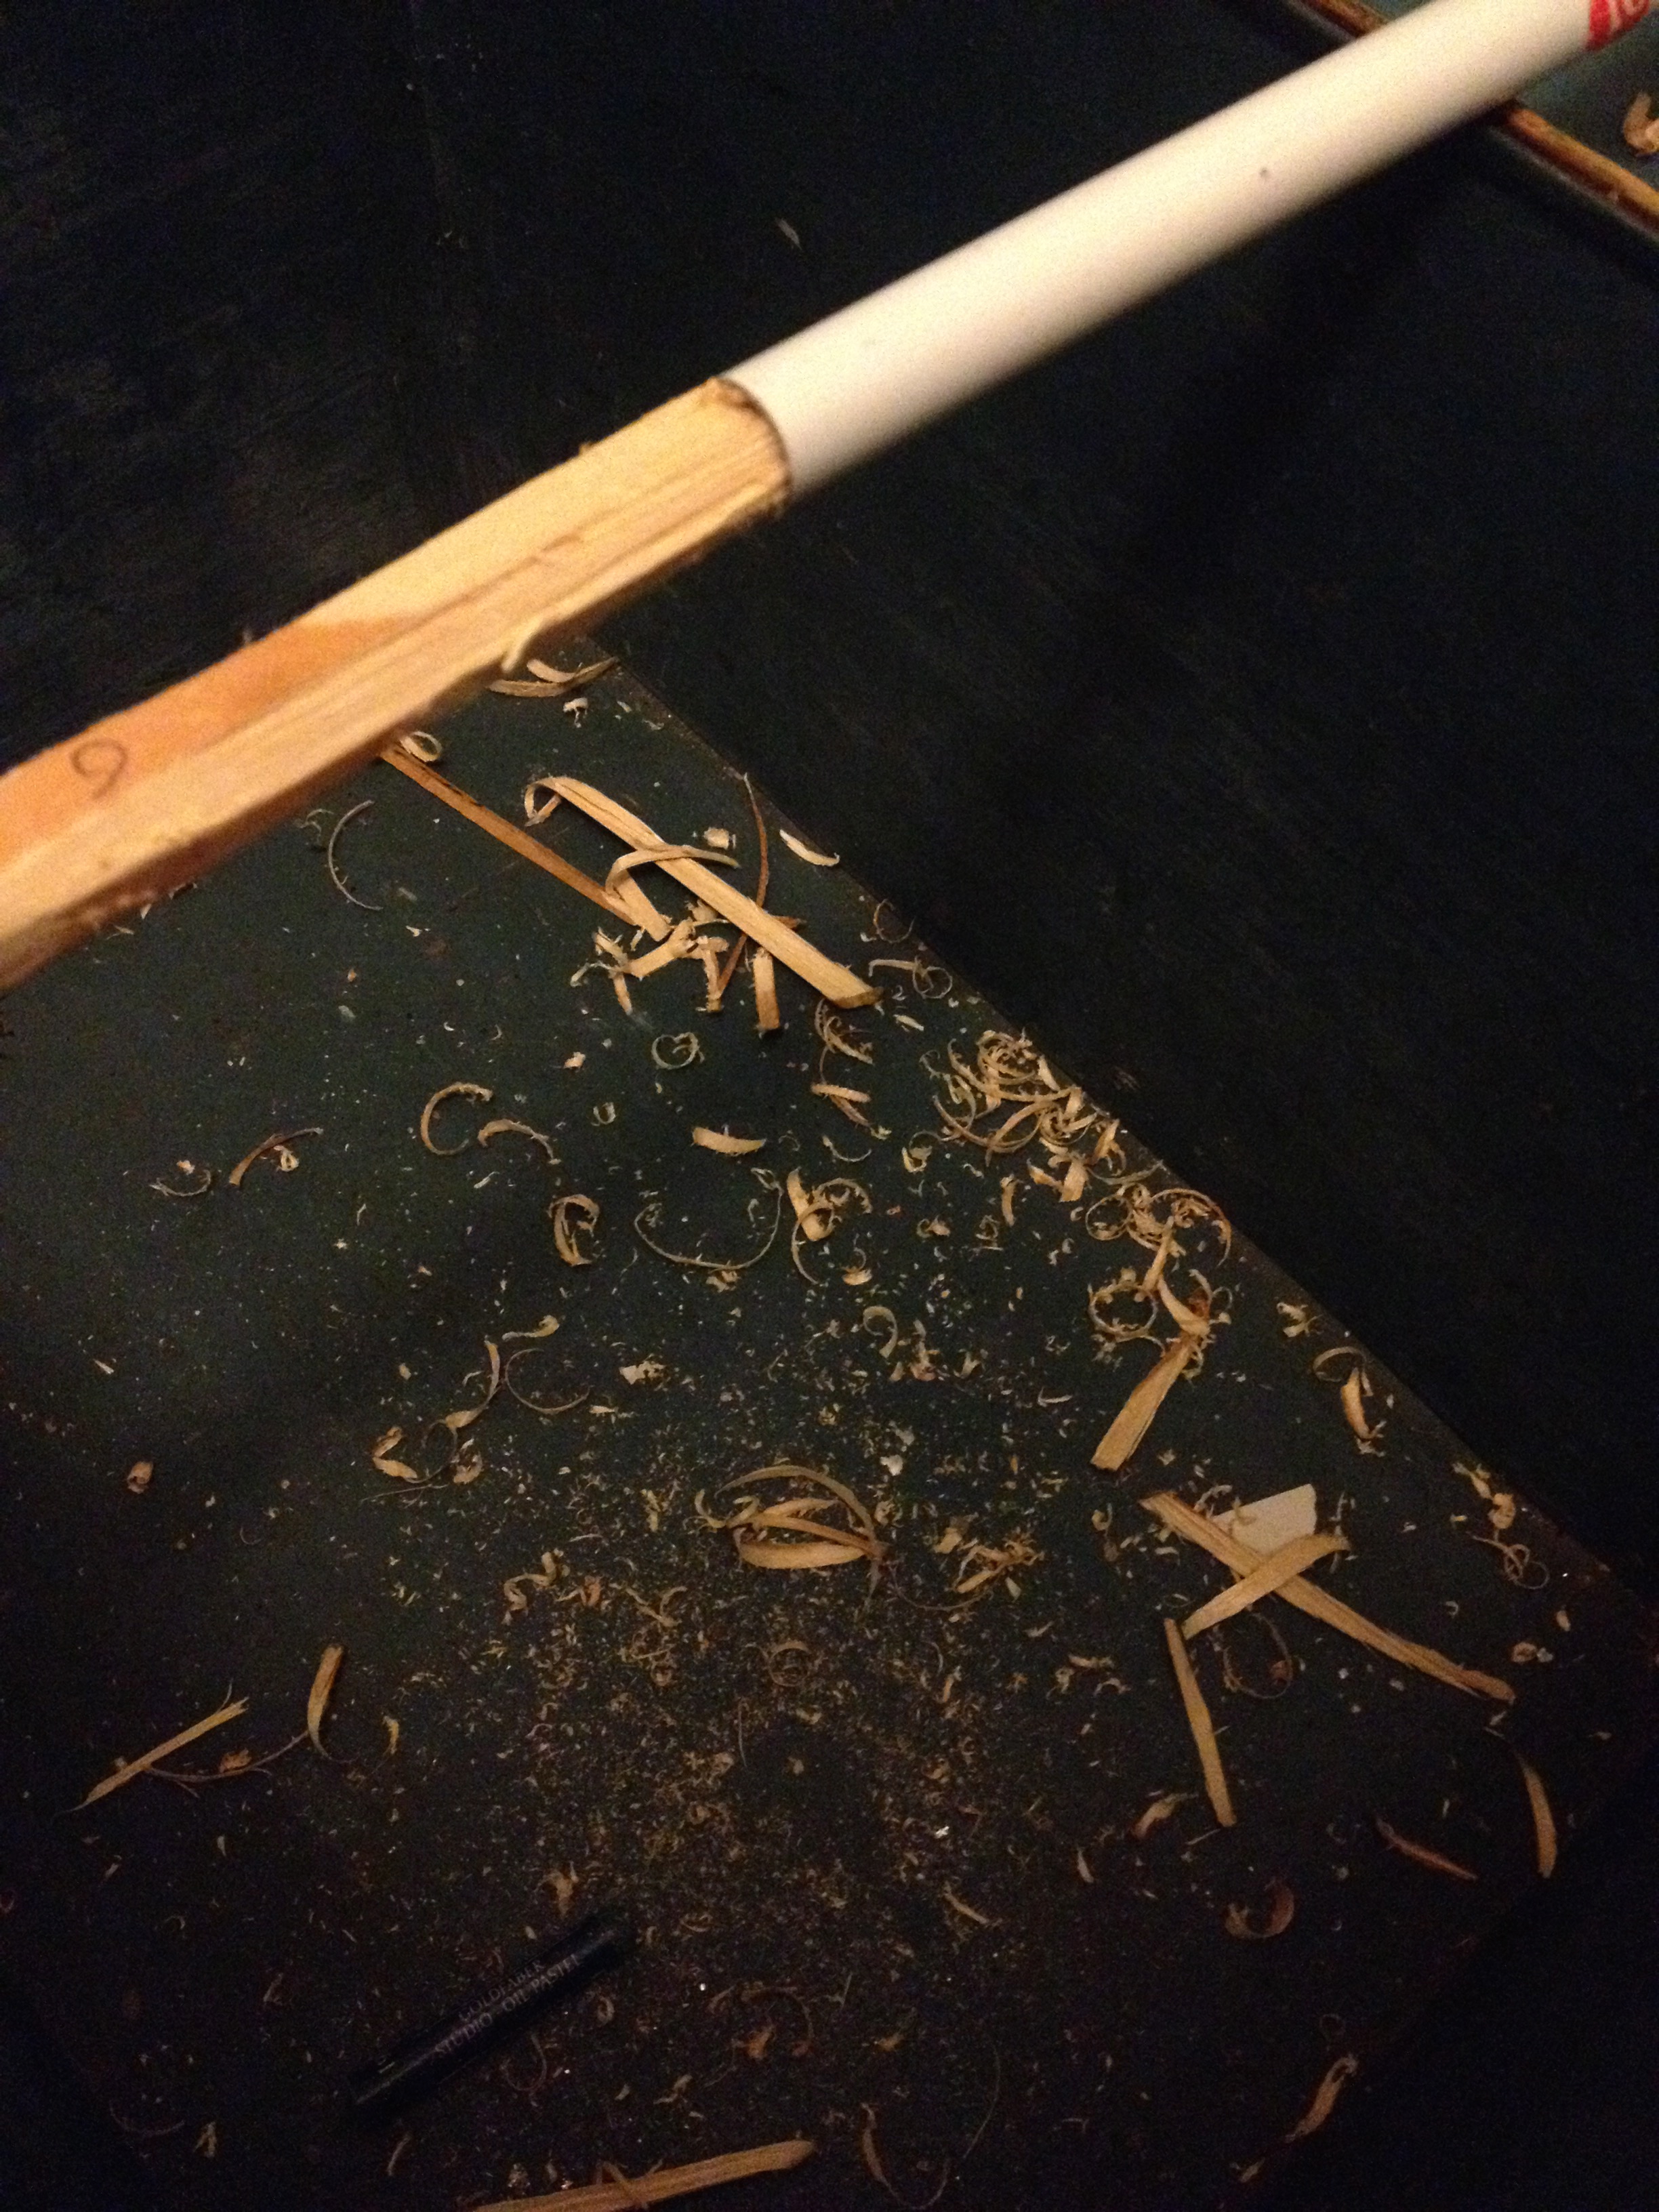
First off I chopped some metal tubes (spare poles from the camera obscura design I’m using) and installed these into the box, spending time to get them parallel so the screen can shift up and down easily. Excuse the dark pictures.. shot with my phone!

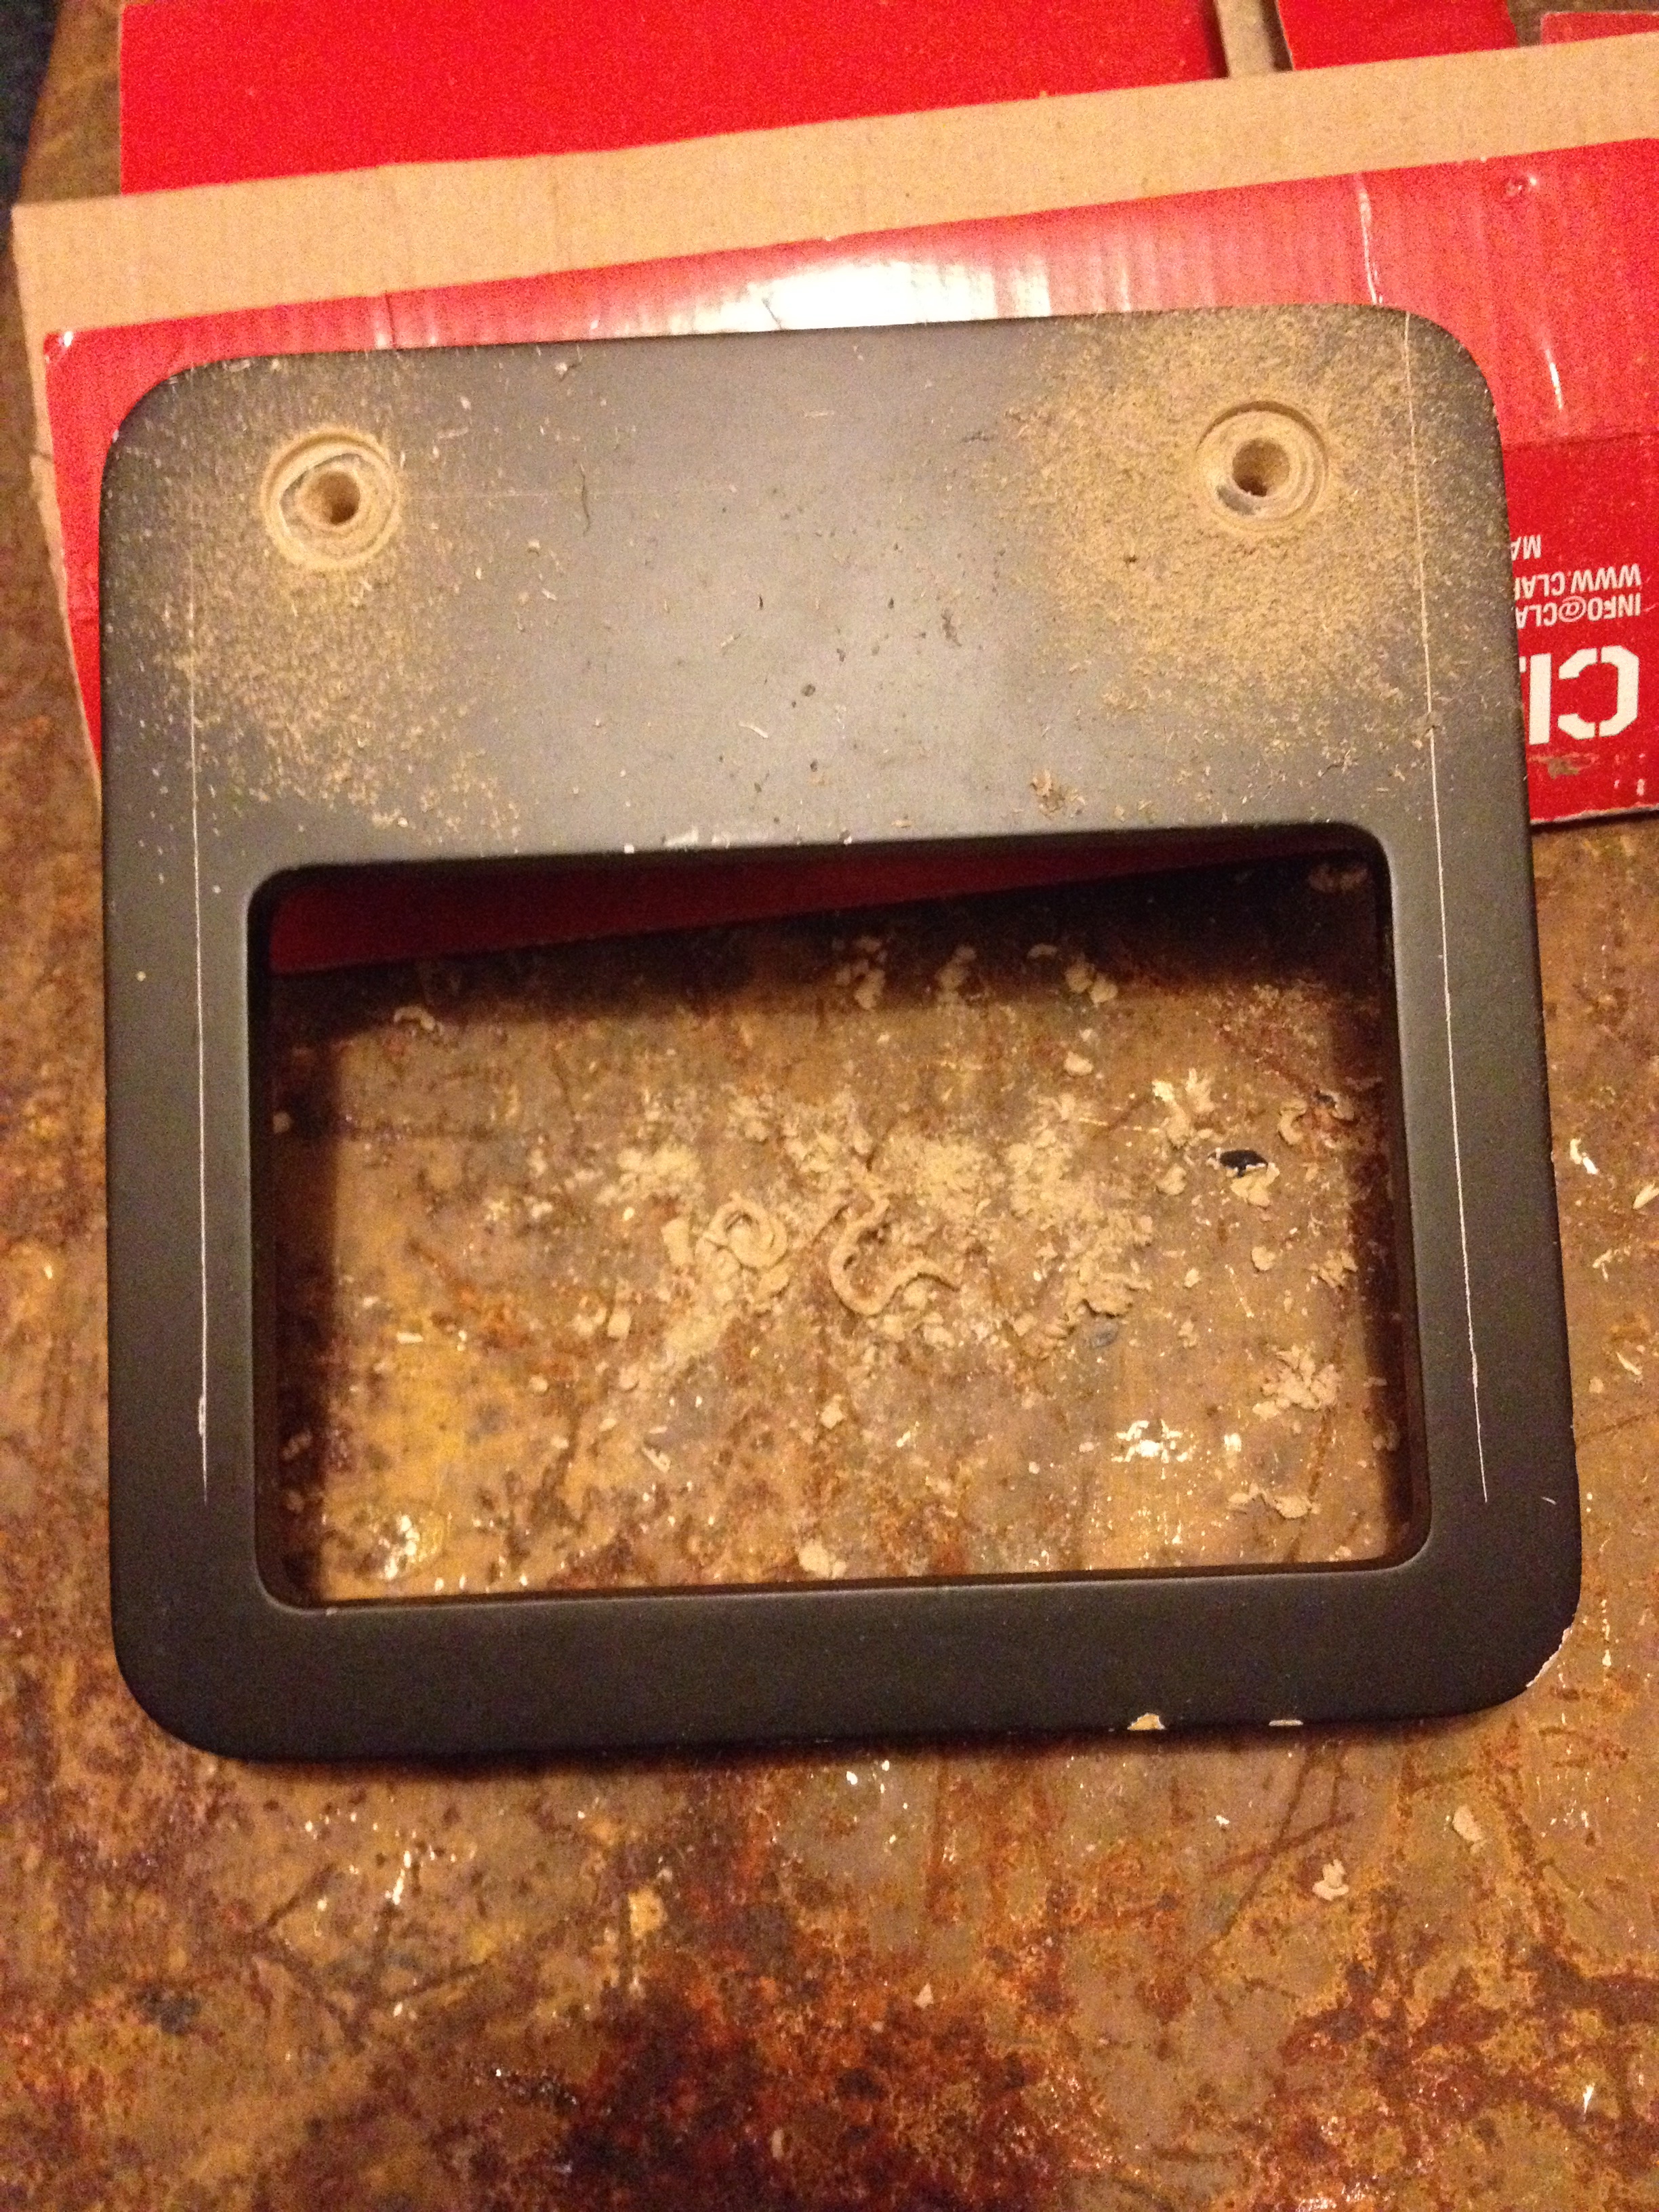
Next I drilled holes in a picture frame I’d bought (charity shop..) that made a perfect holder. I’ll get round to making the ground glass soon but for testing I’ve been using a piece of greaseproof paper which works a treat. Here it is below, mid drilling.
This guy can’t wait for the Afghan camera!
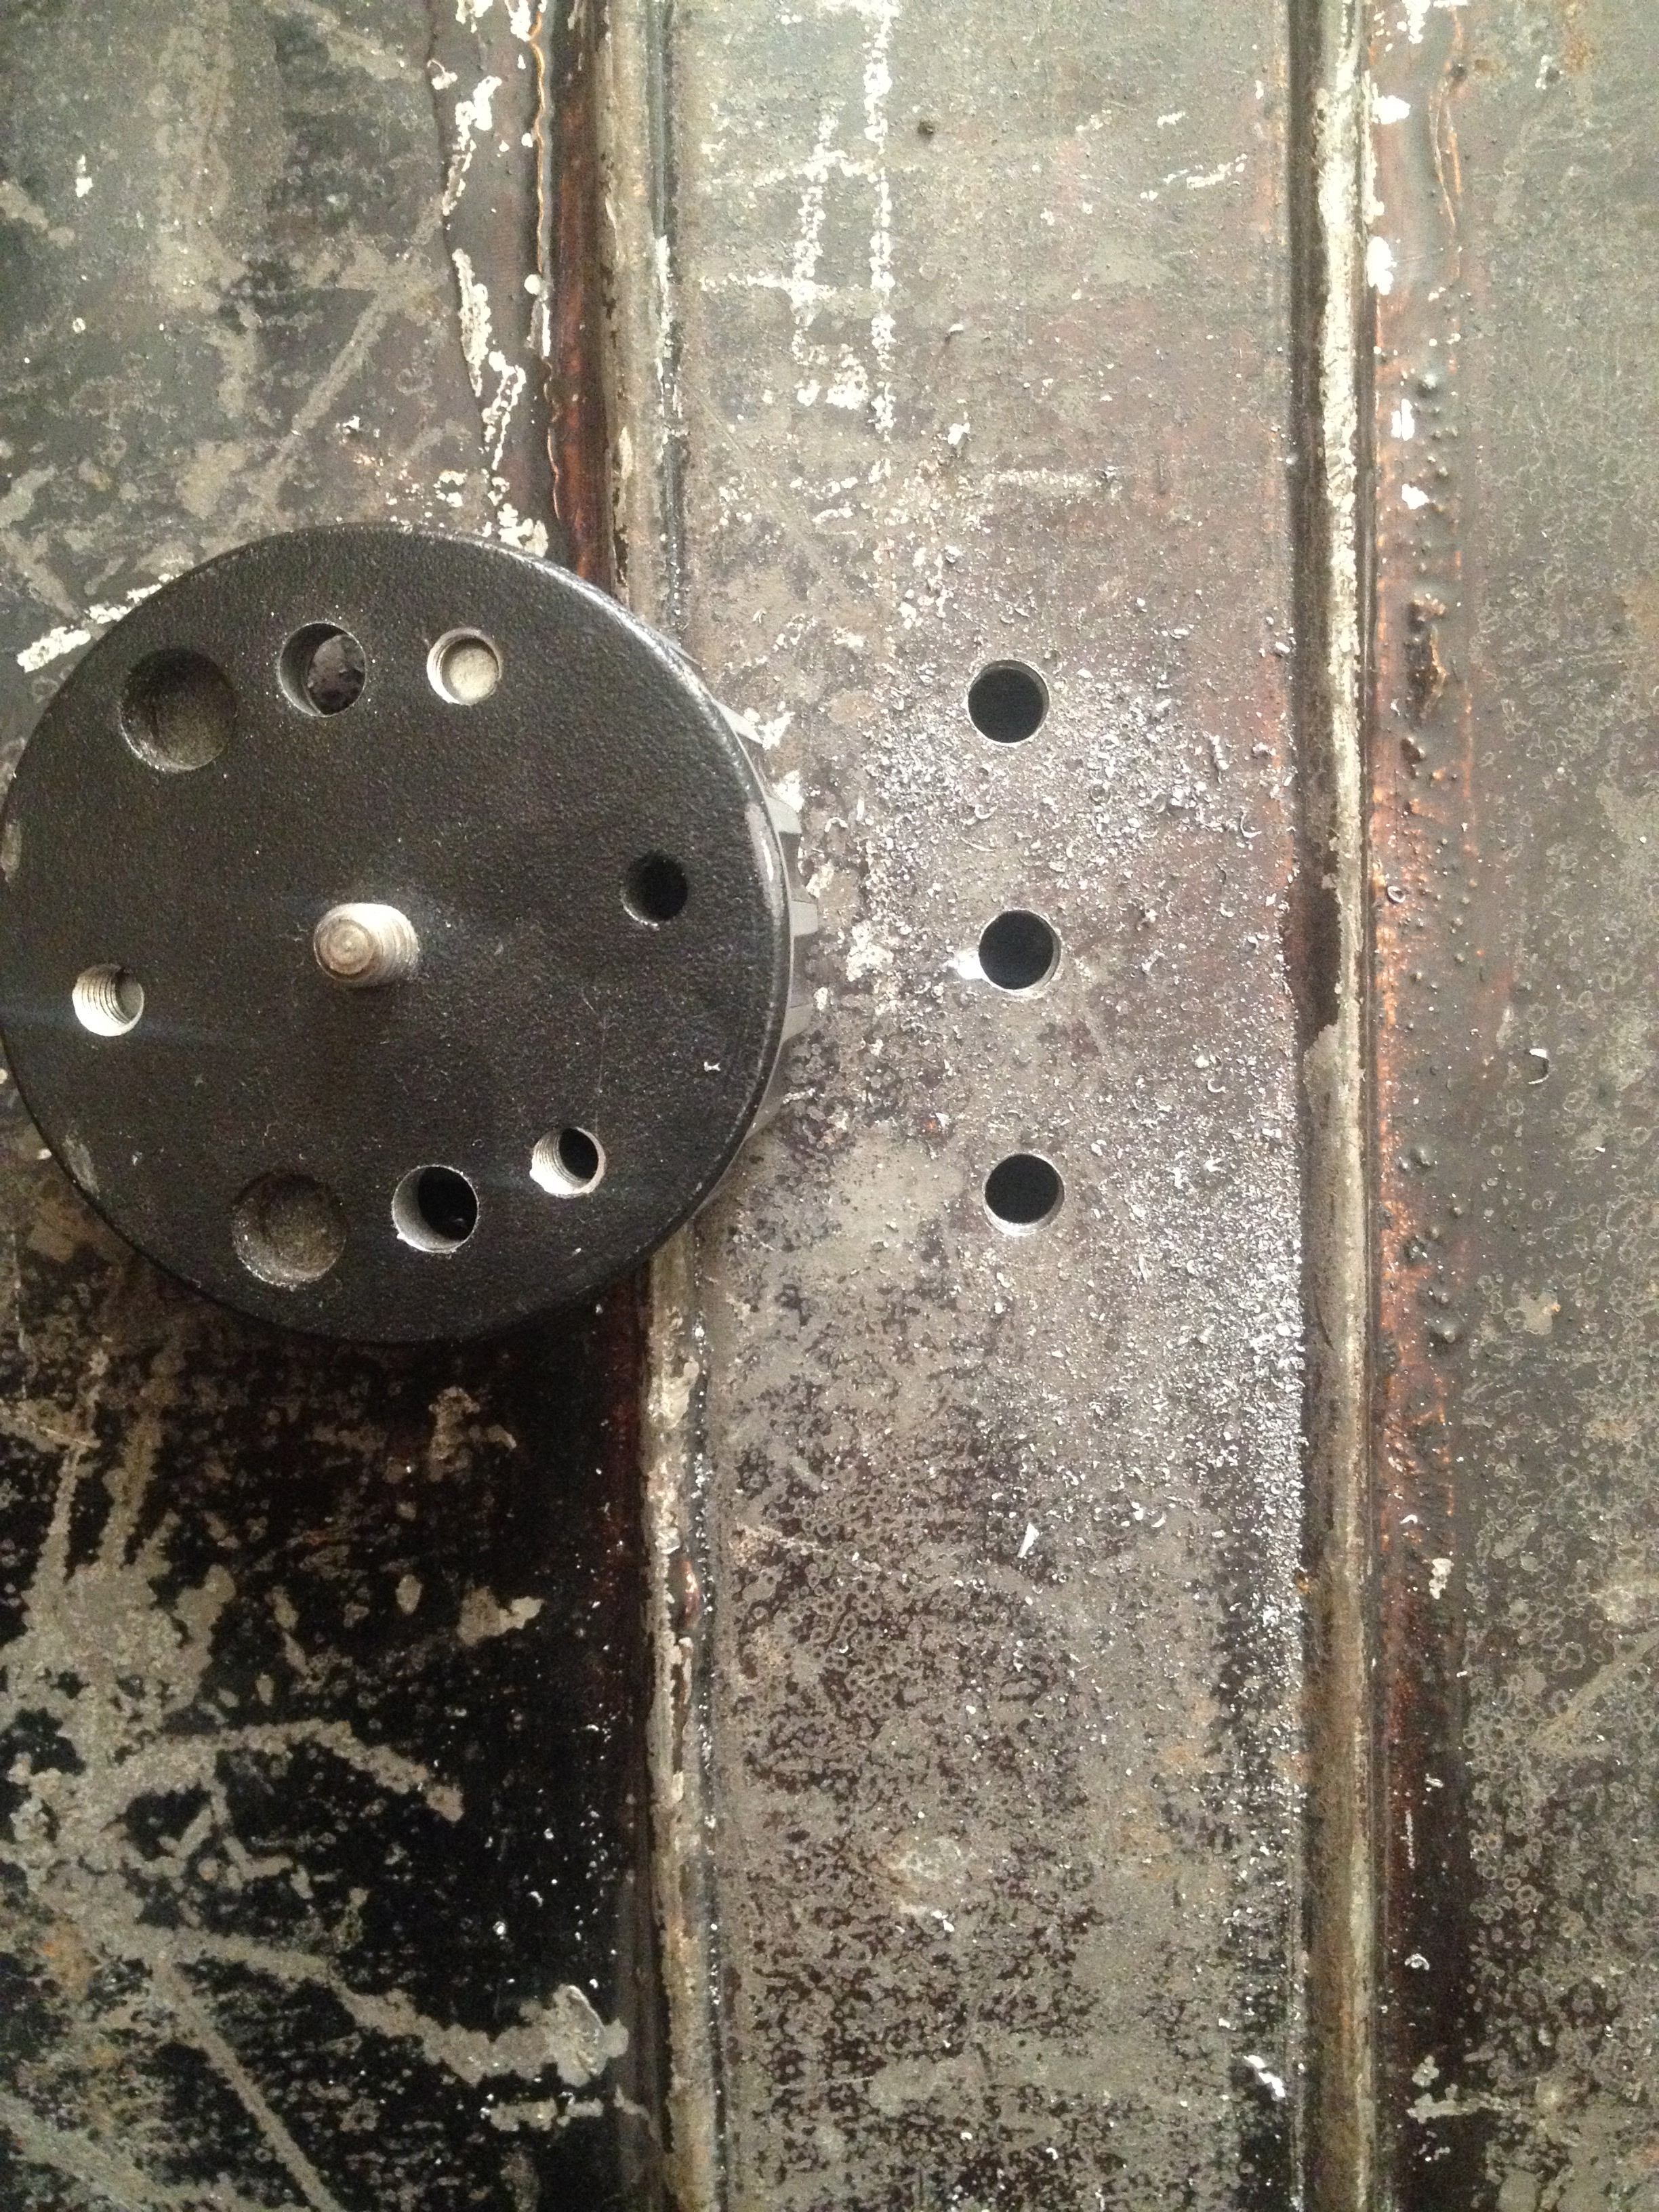
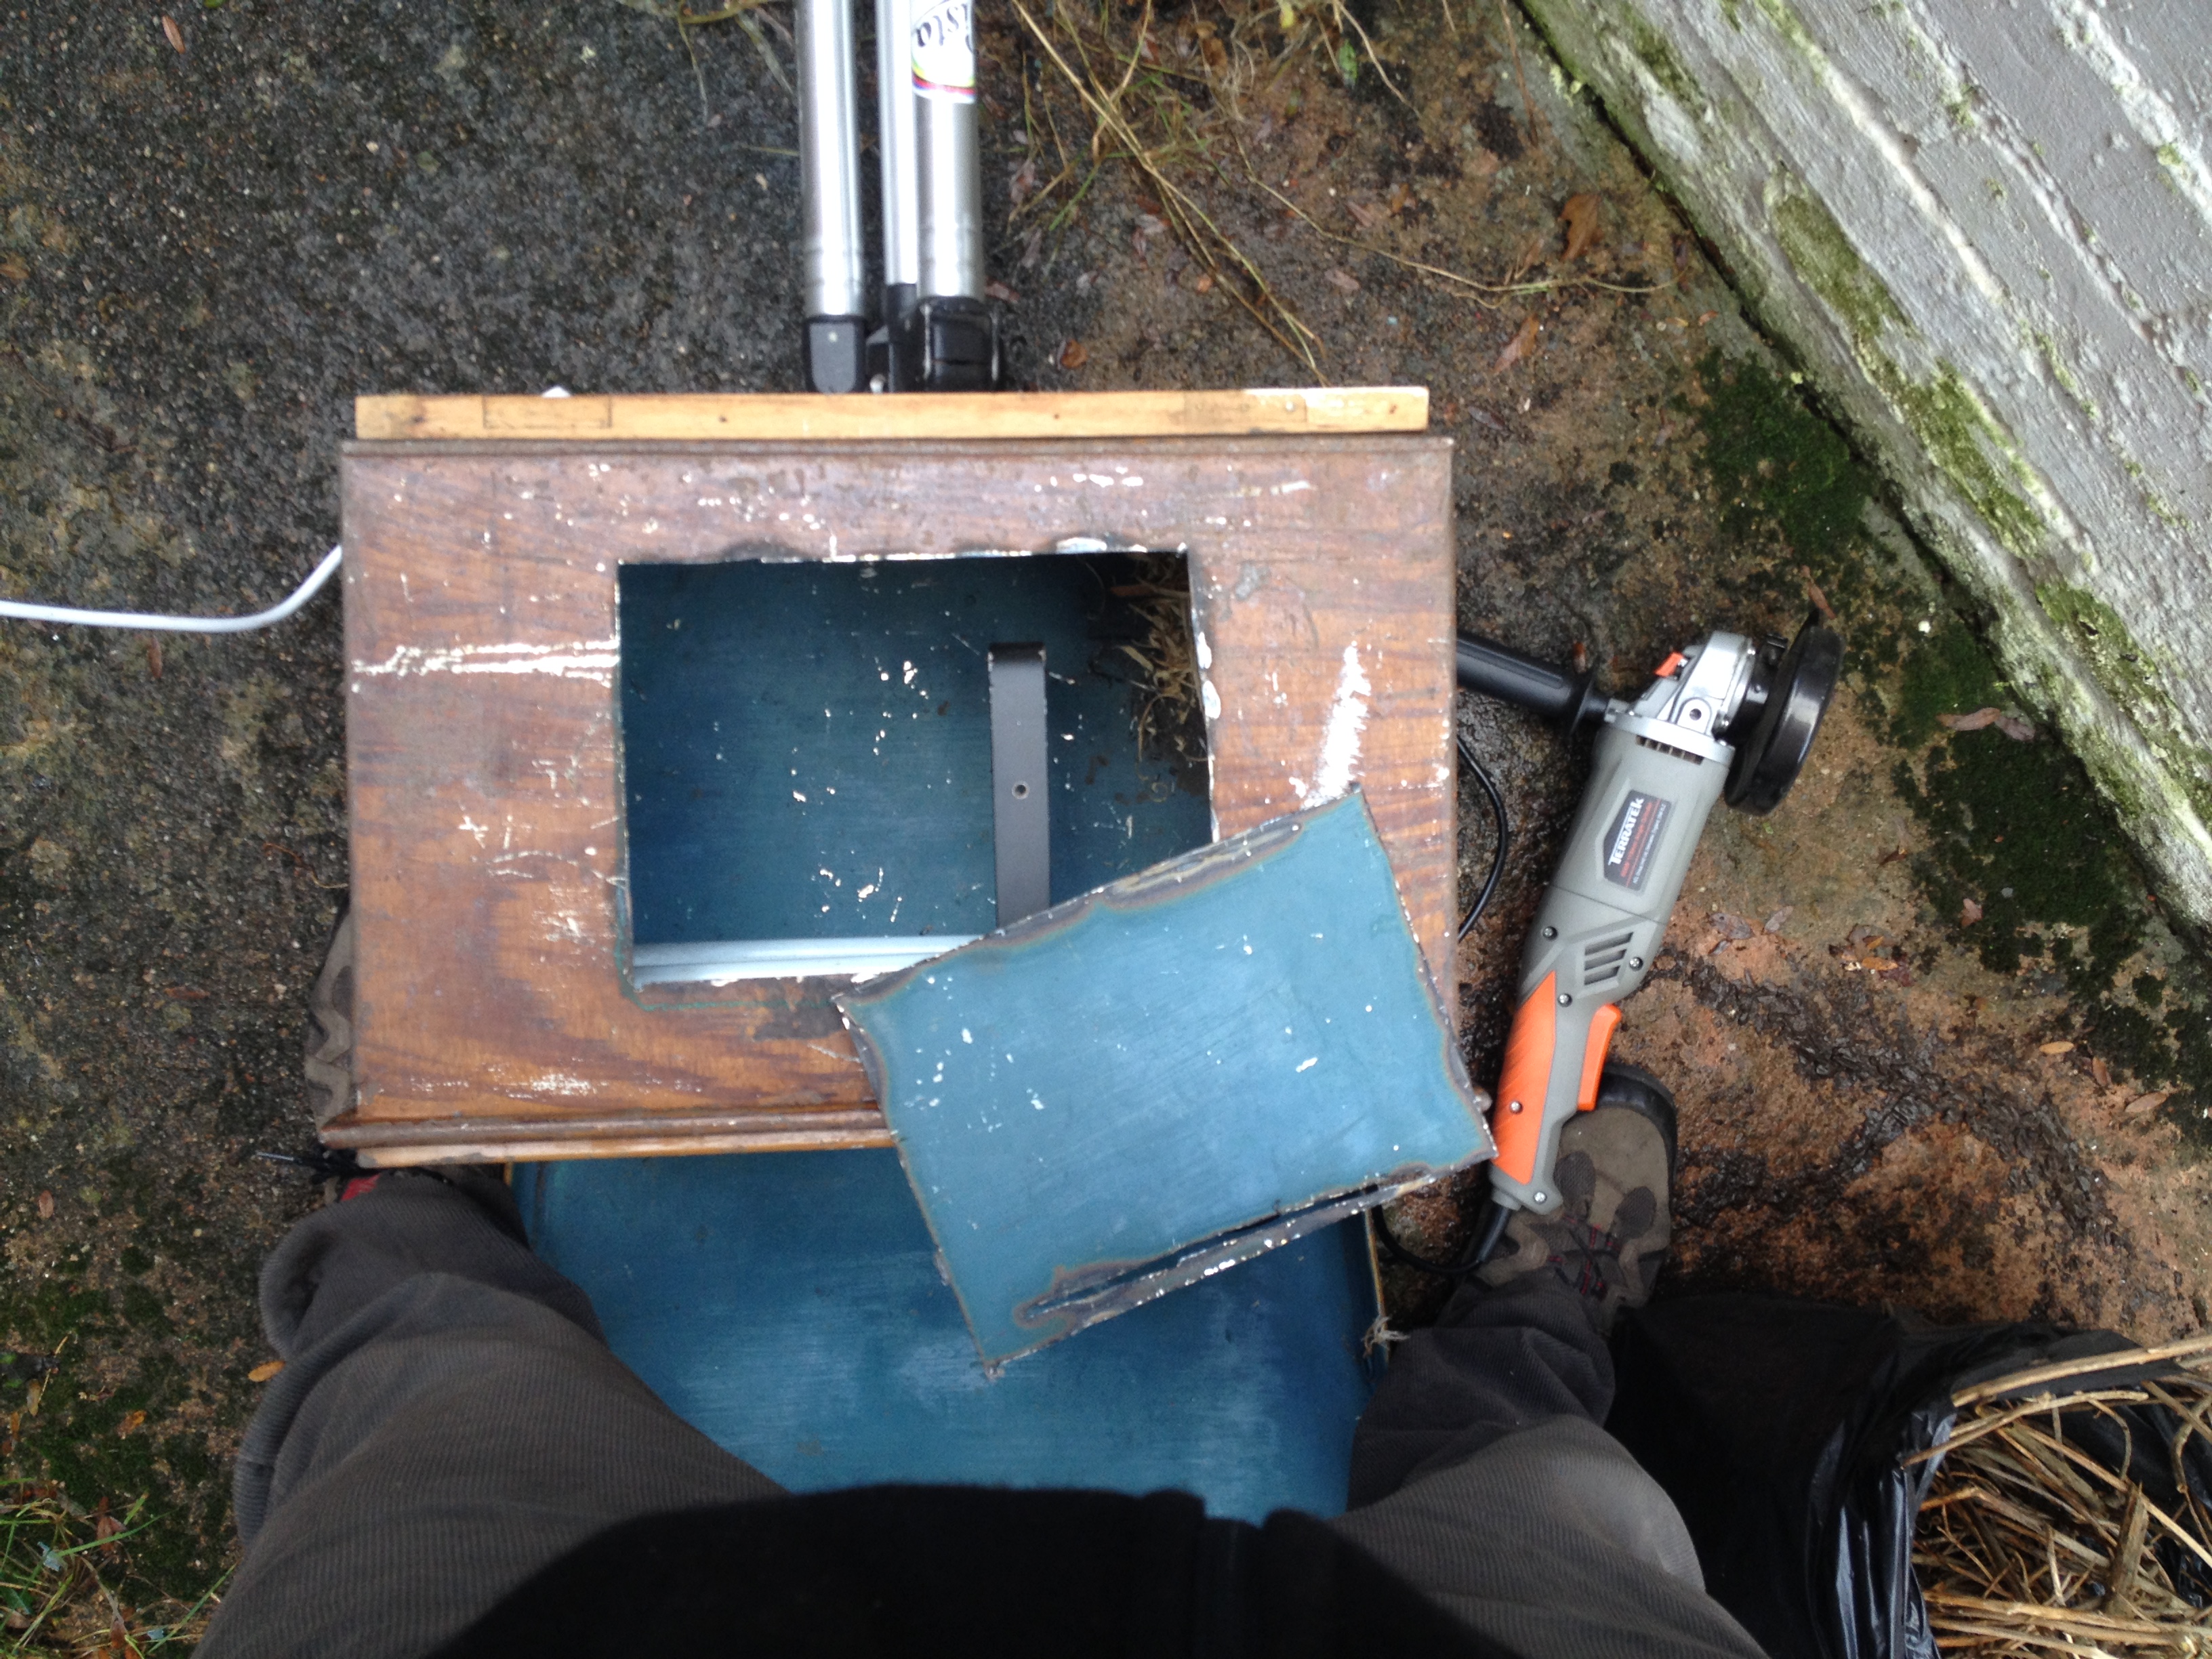
Next, I cut the holes I’d be putting my arms through – making them much bigger than before and with my angle grinder skills much improved! Cutting the lens hole was a little harder as it needed to be smaller than the grinder would allow, so a circle of drill holes started me off and then I used the grinder to smarten it up and remove the jagged edges. I was lucky to find a strong base board that perfectly matched the camera and helped with attaching it to the tripod. It gives a very solid base, which’ll help with any long exposures.


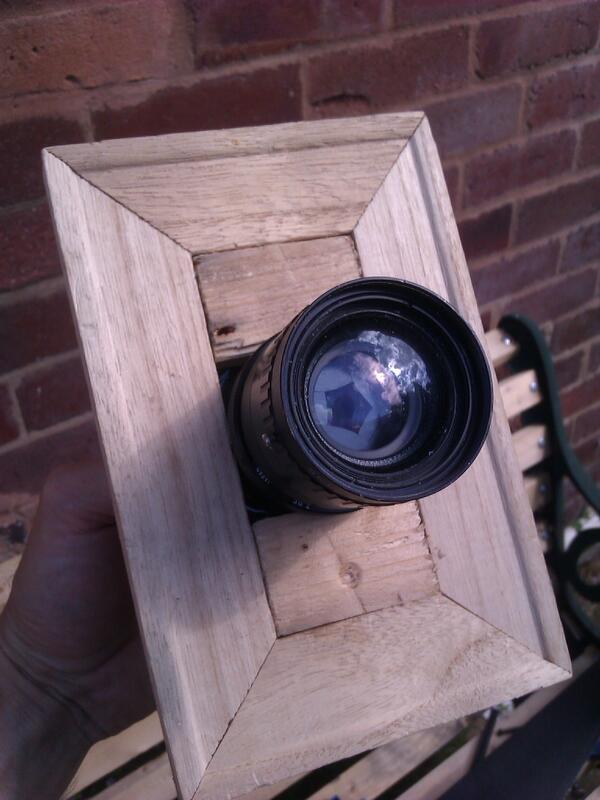
With that installed, I fixed the box to the tripod and started on the lens. Again, another picture frame was useful here as it set the lens out from the box slightly and left a groove I could use to block the light out. I quickly made some curtains along the edges from some bicycle bar tape I had left over from a build which will help stop any light sneaking around the gaps. 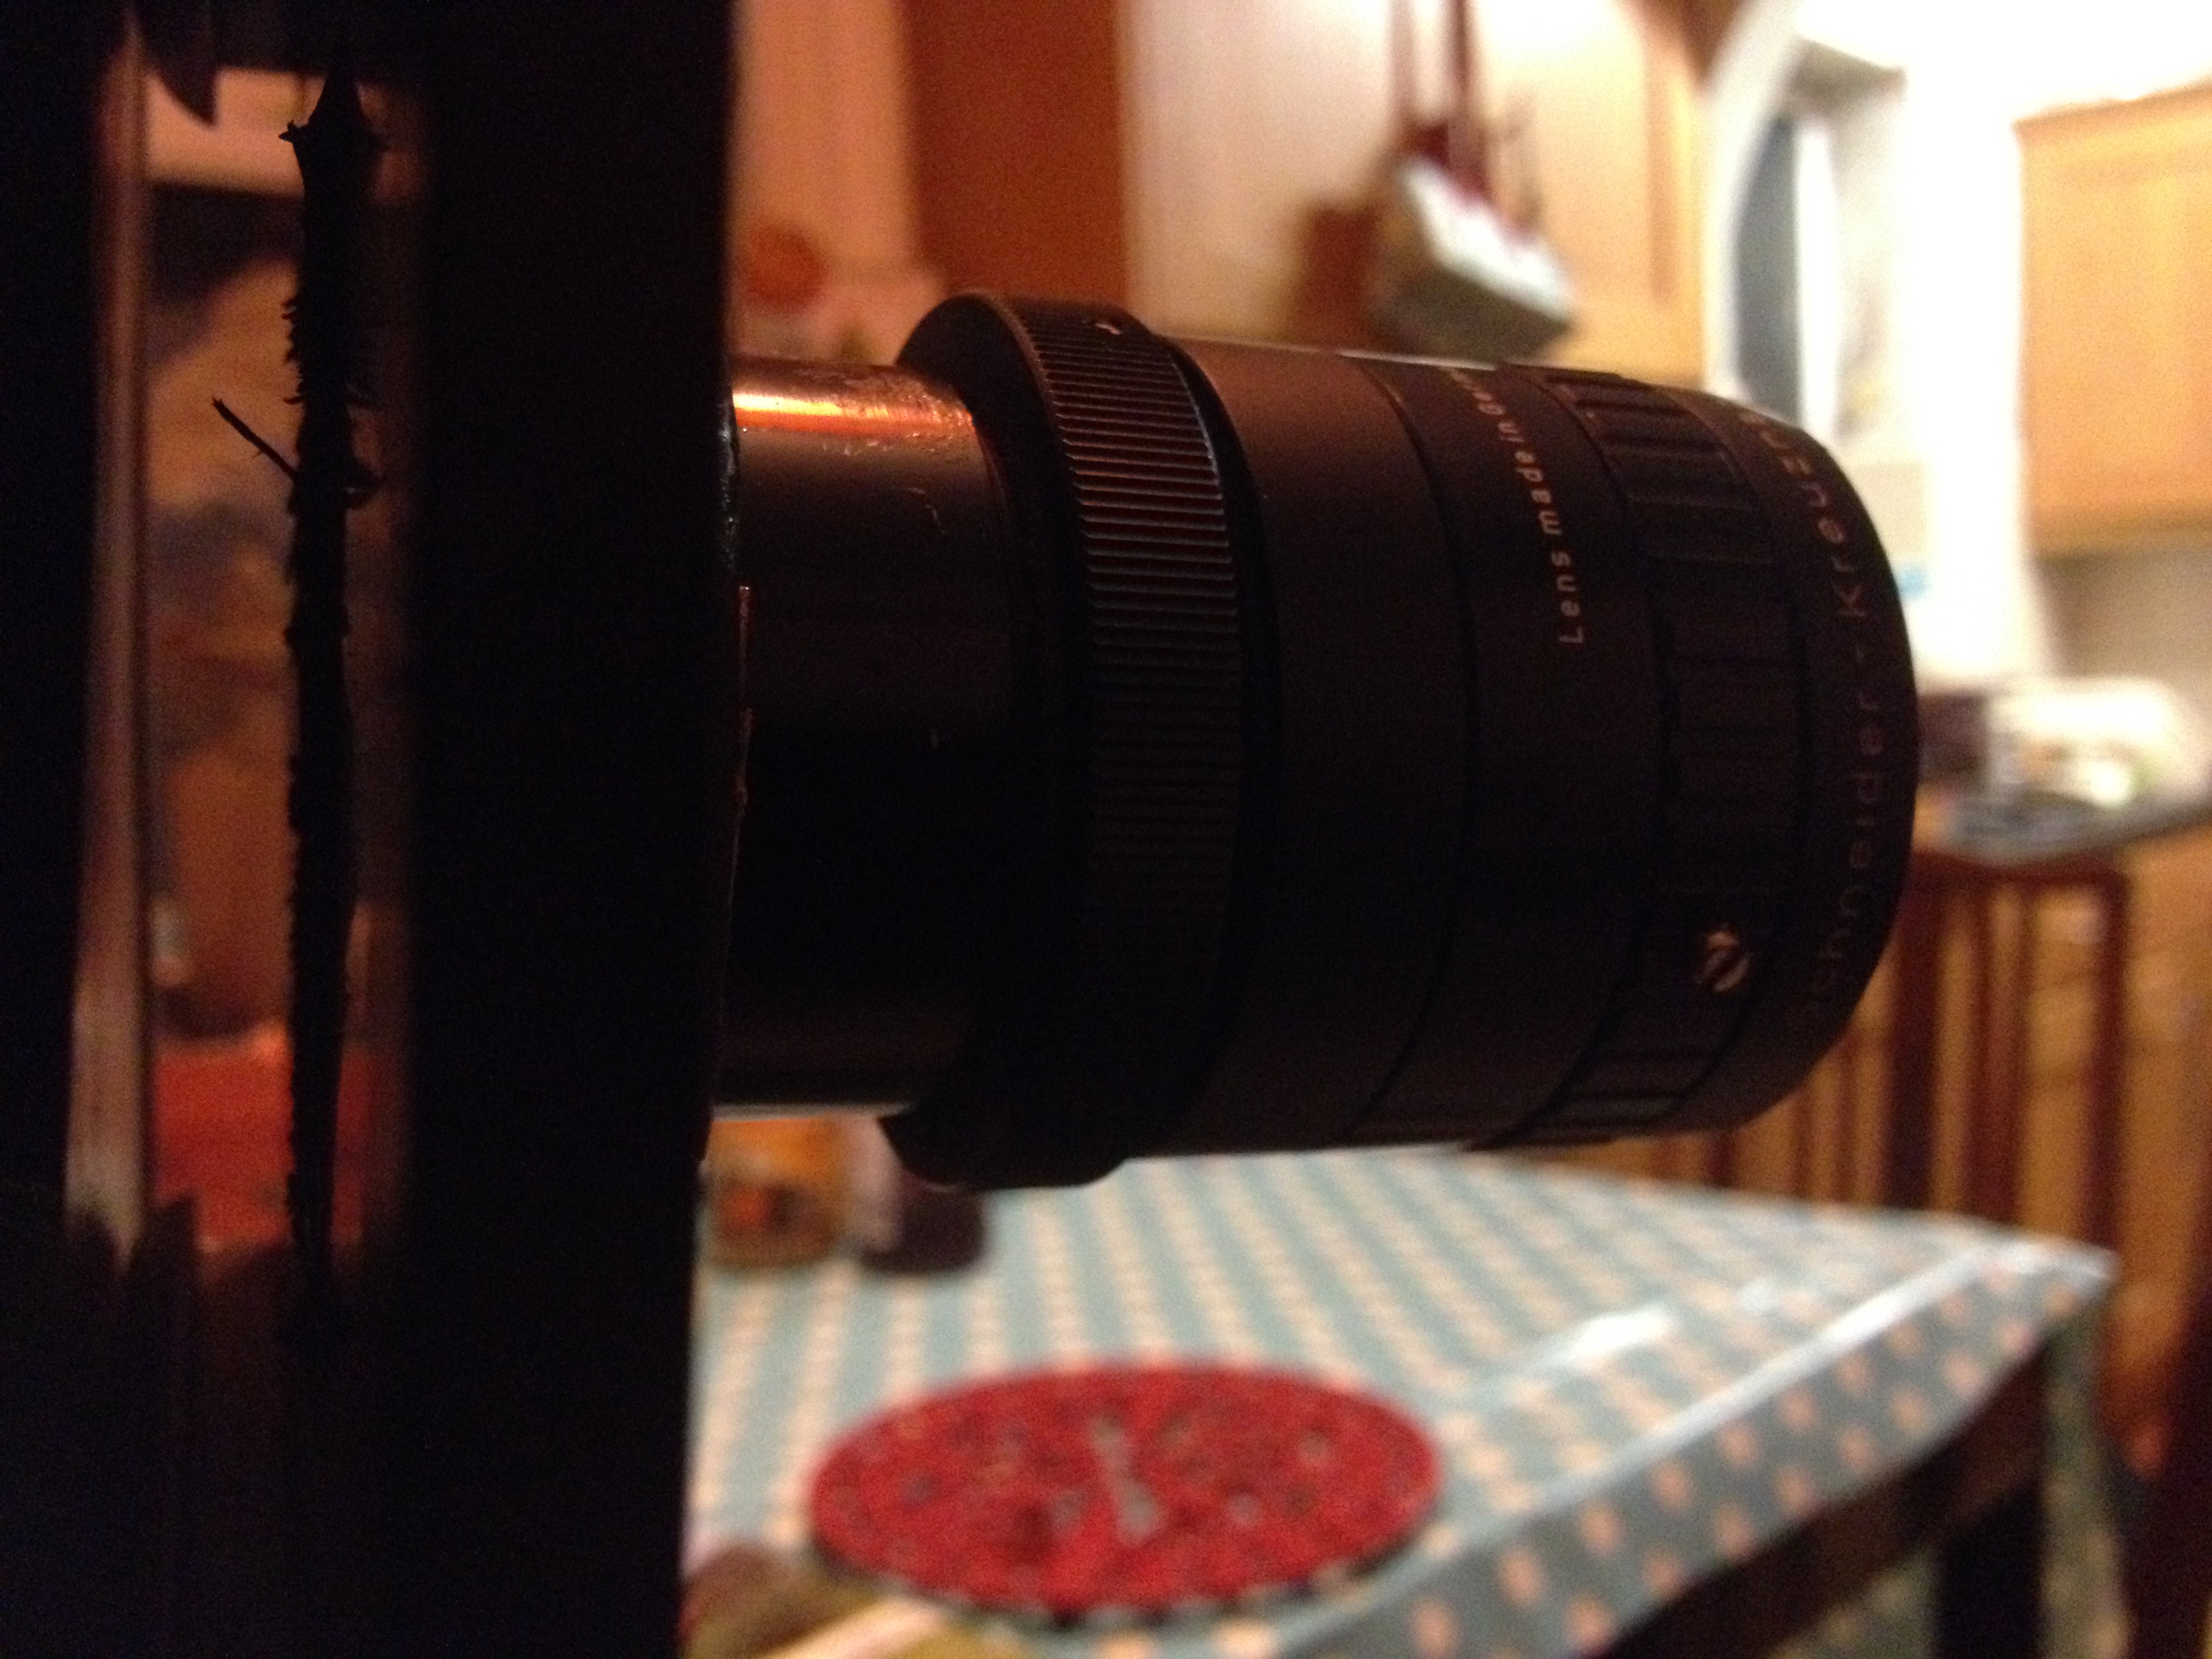
Nearly there..
Another key problem my first design had was that you could only view the image from directly behind the lens. With this design I have instead installed a mirror at a 45 degree angle, that I view from above. This not only means I can view the image the right way up (the mirror inverts it for me) but I can also get a view of the dev tray to see how the prints are doing. I was soon ready to start some testing.
I also added an LED light meant for the back of the bike. This glows red, and although it seems a little cooler than the traditional sfe light colour it seems to work well. I found some already depleted batteries for it so it is not too bright but provides enough light to check the prints. For folk unaquinted with the darkroom – red light is used because the light sensitive paper is engineered to be insensitive to red light.
Test shoot!
The camera was just about ready to test towards the end of the day. The sun was beginning to set but I was too eager to wait until I next had a day off and so I got out the chemistry and had a go.
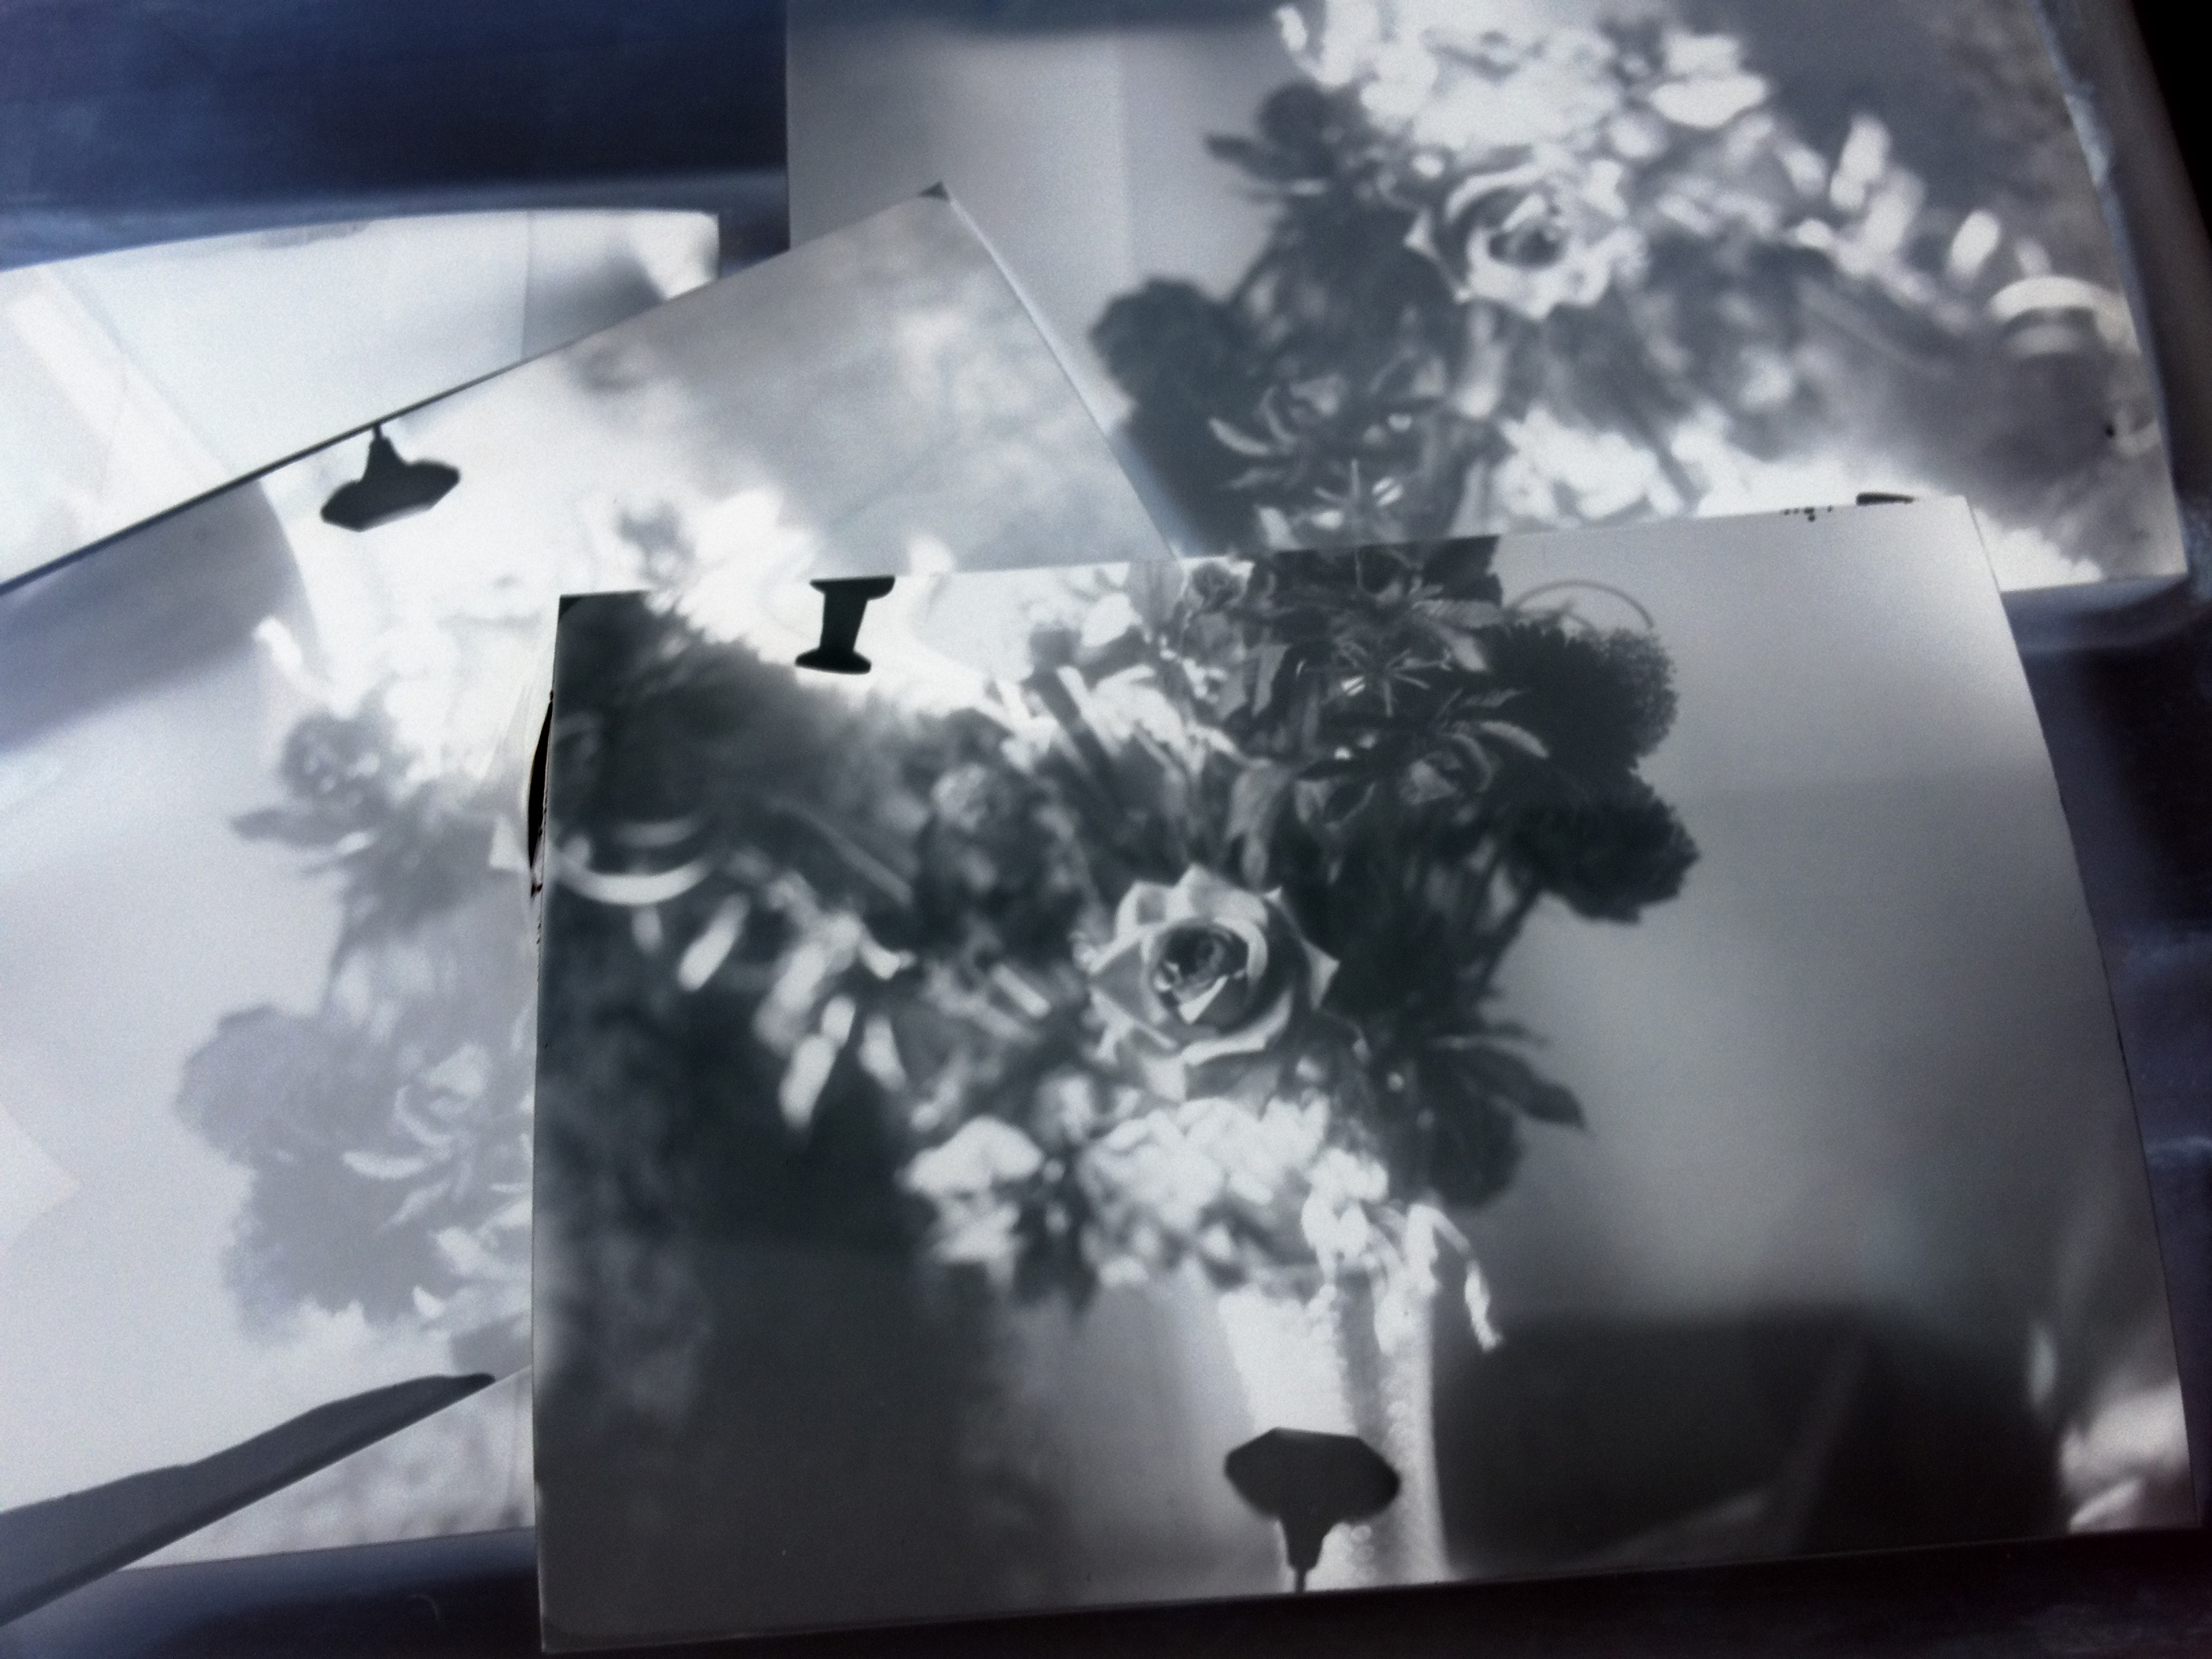
The first thing I noticed was I was no longer free to shoot things above or below me by simply tilting the camera.. this would quickly end in chemicals spilling out the trays inside and into the box. Moving the camera to take in different views was difficult enough, although I am planning some adjustments to my tripod that should help with that. The garden wasn’t full of many good subjects but I tried to capture a couple of things. Below are the results..
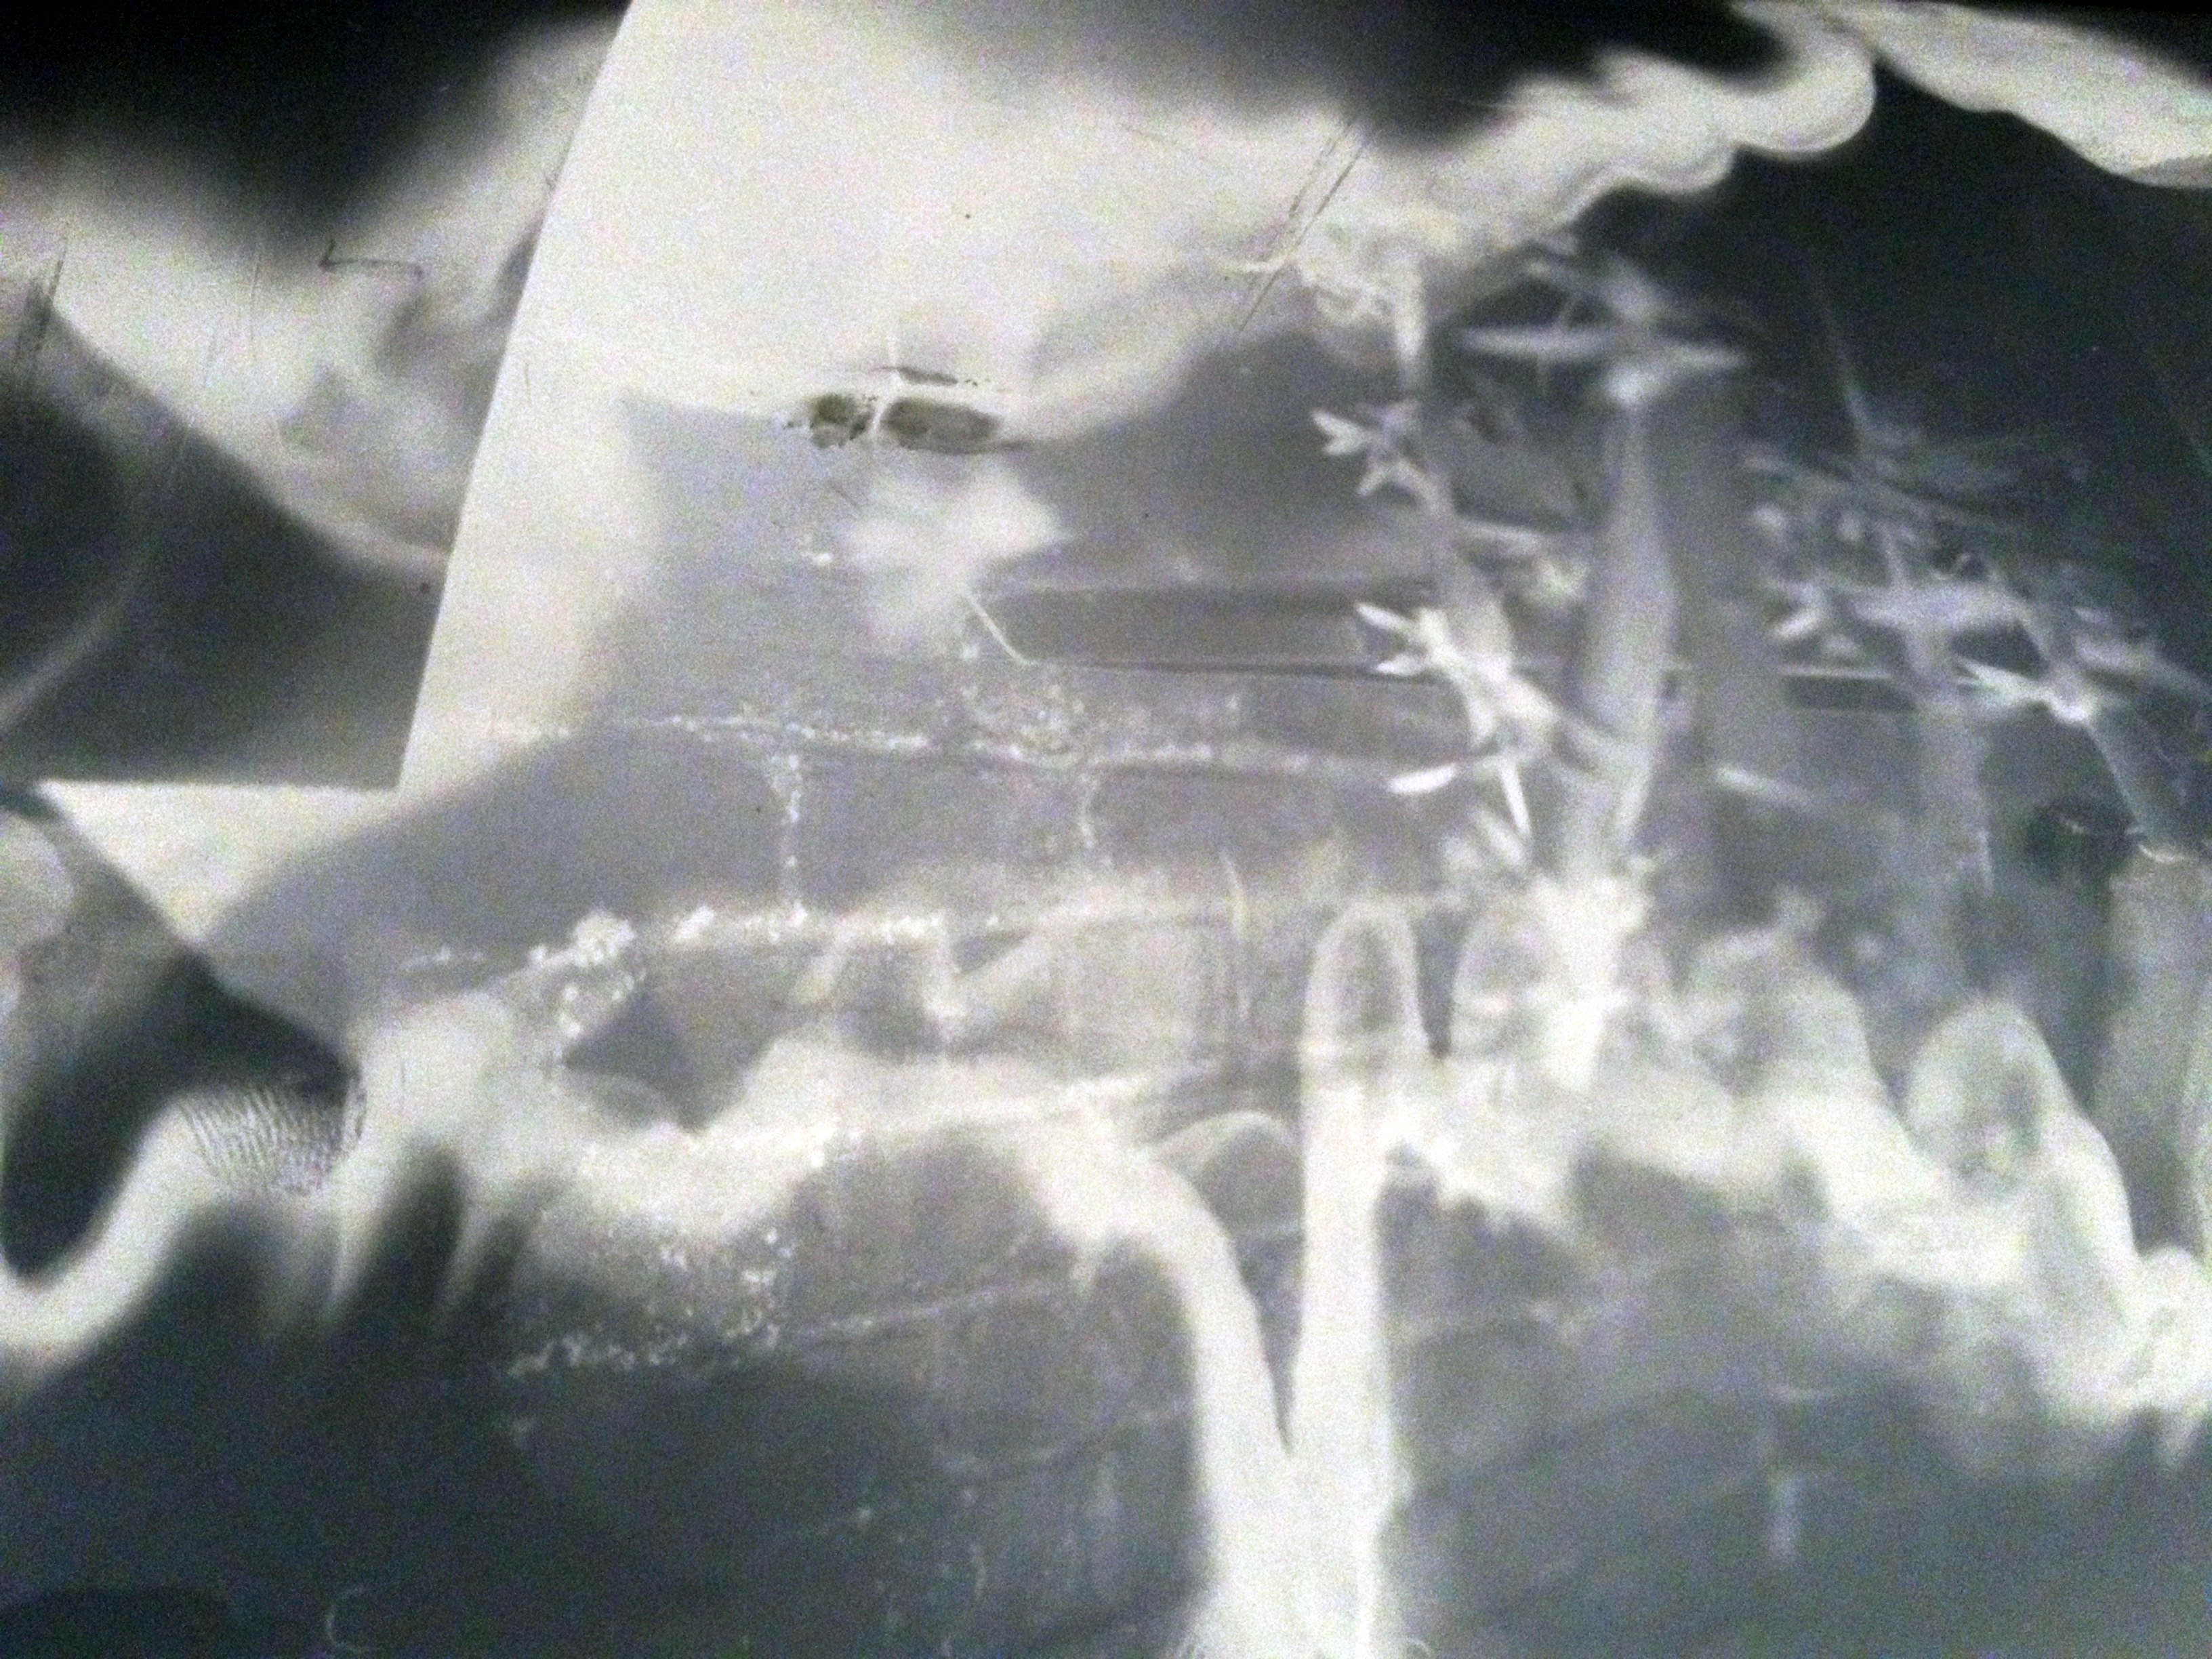
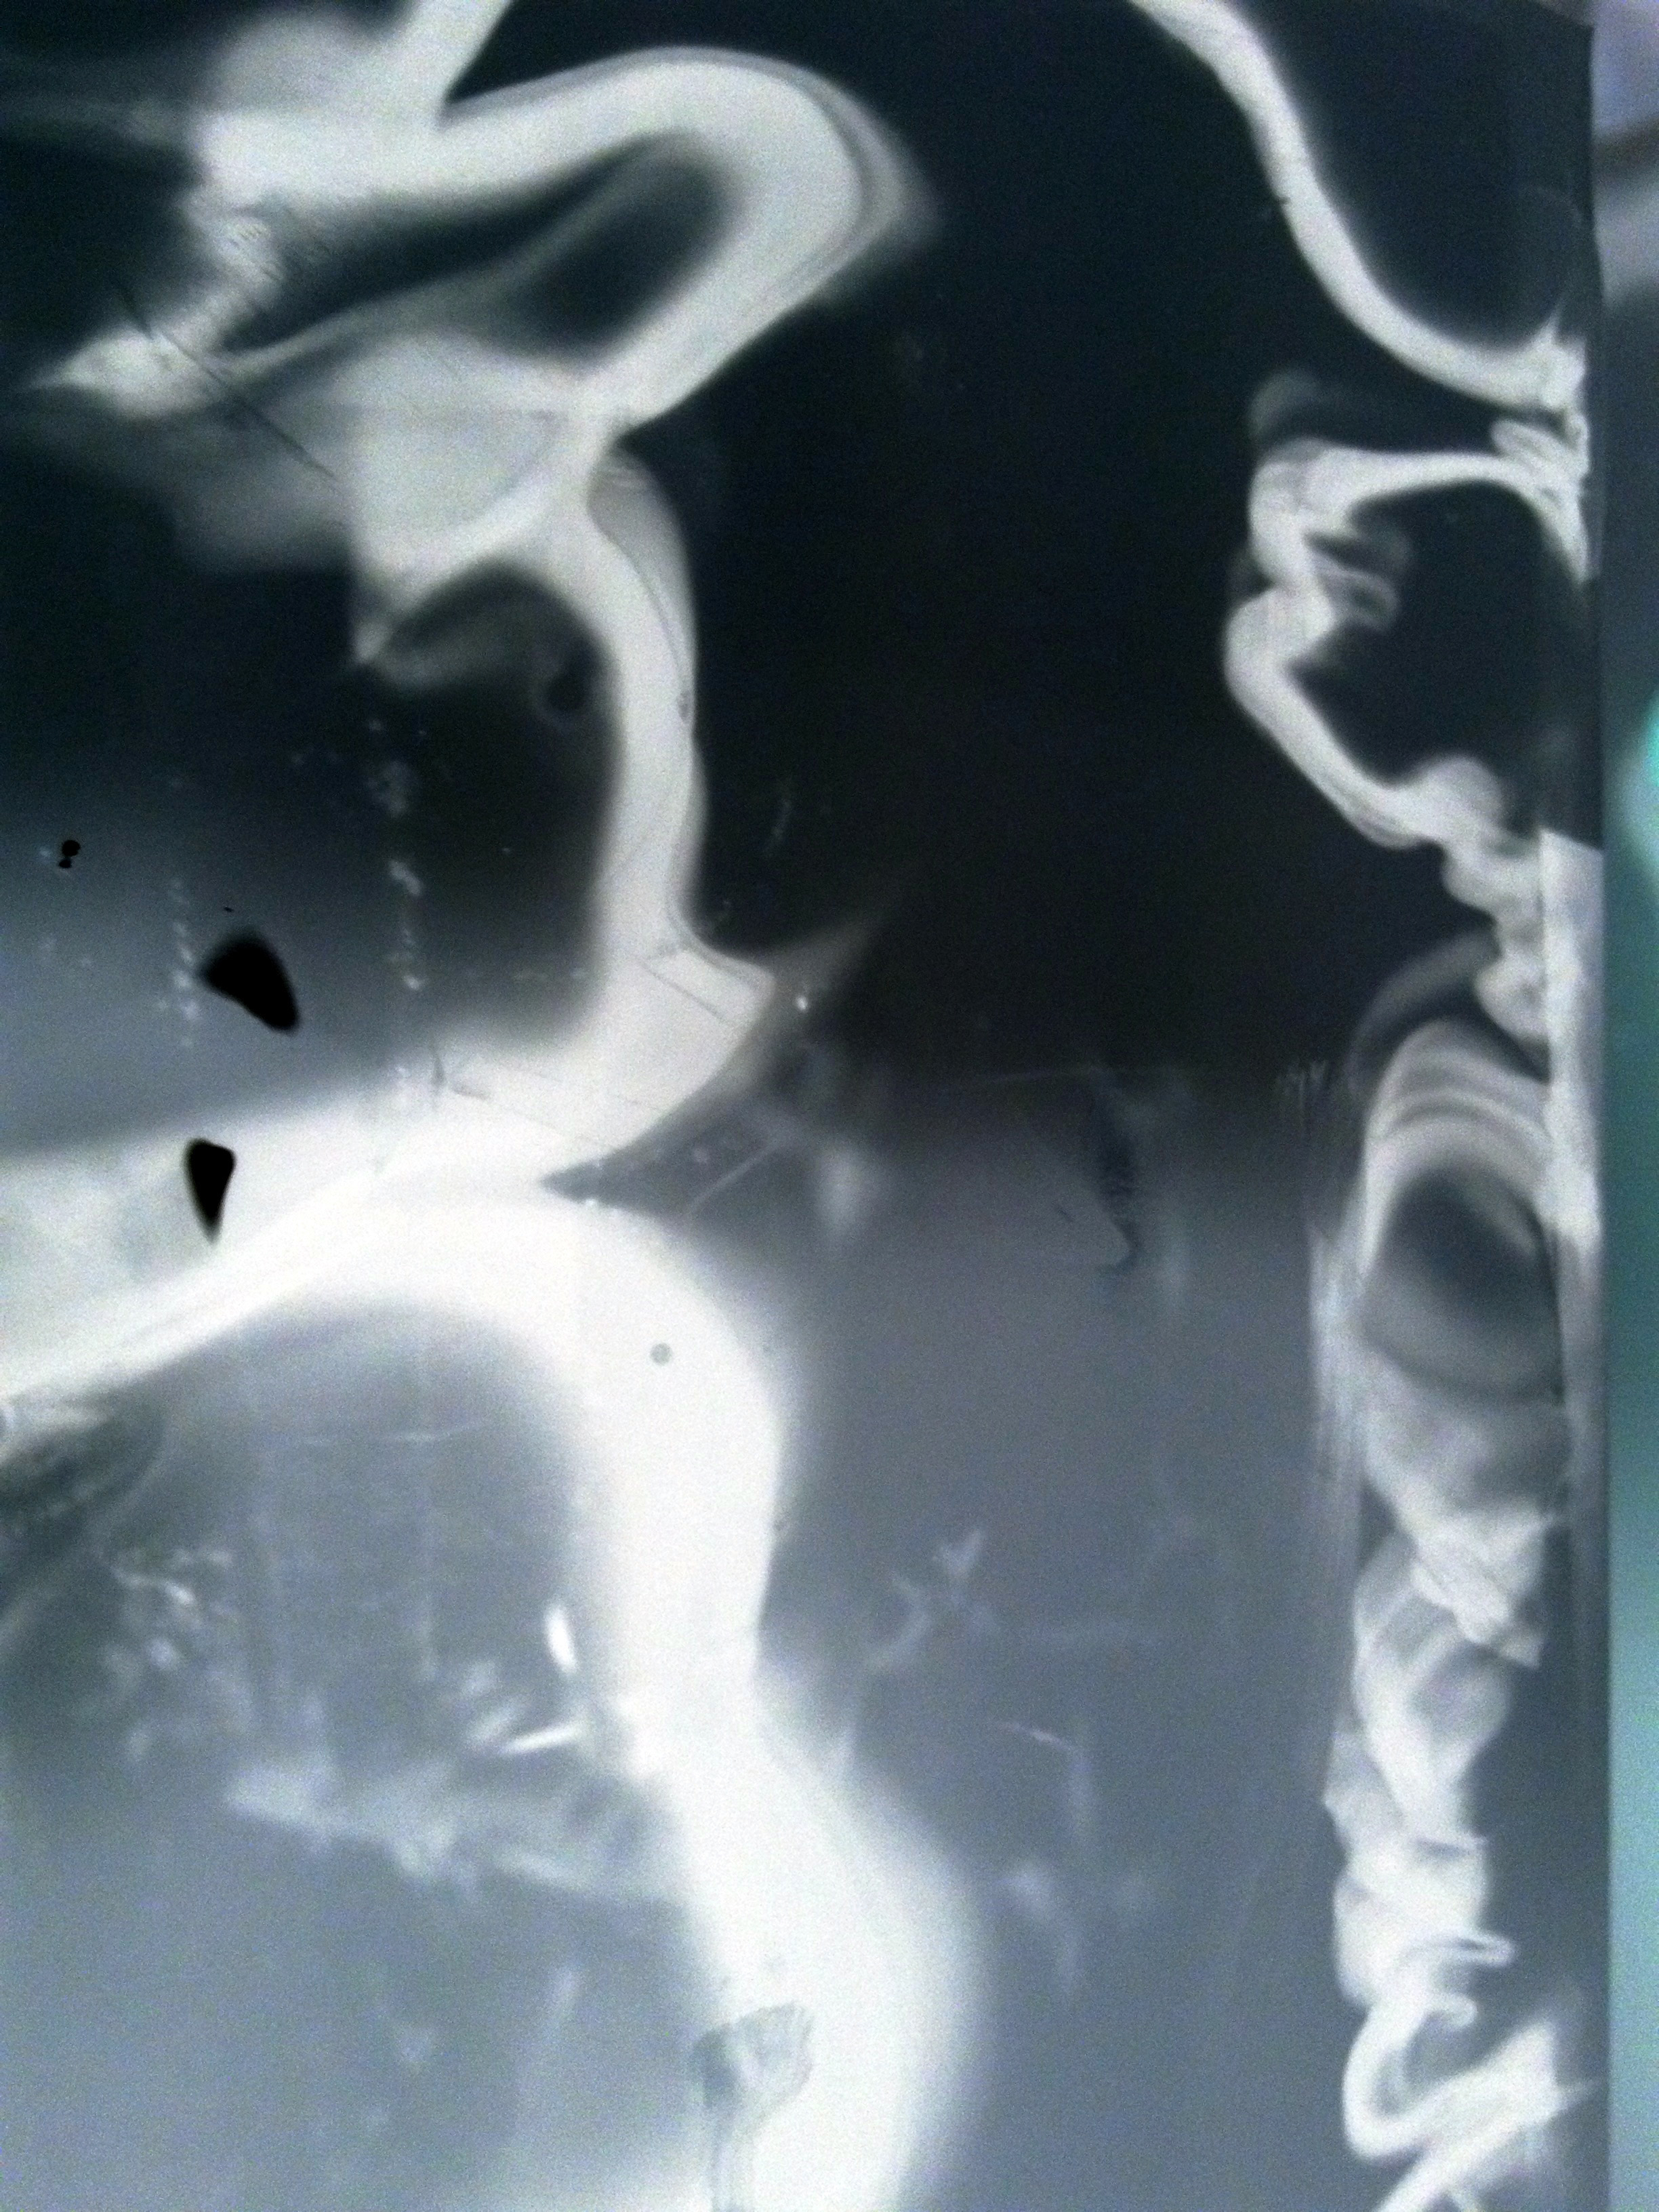
 In my haste to get all set up in the fading light – I seem to have mixed the chemicals incorrectly. After a bit of troubleshooting (cheers twitter!) and some further experiments I’ve worked out that it is most likely that I mixed up the diluted developer with the neat stuff – making a very strong solution that lifted the emulsion of the paper! Anyway, despite this set up I am looking forward to another shoot when I have more time, more light, and a more regimented approach to prepping the chemicals.
If anything is unclear or you’d like to ask a question about the Afghan Camera, ask away below.
Images from another mini shoot below..